
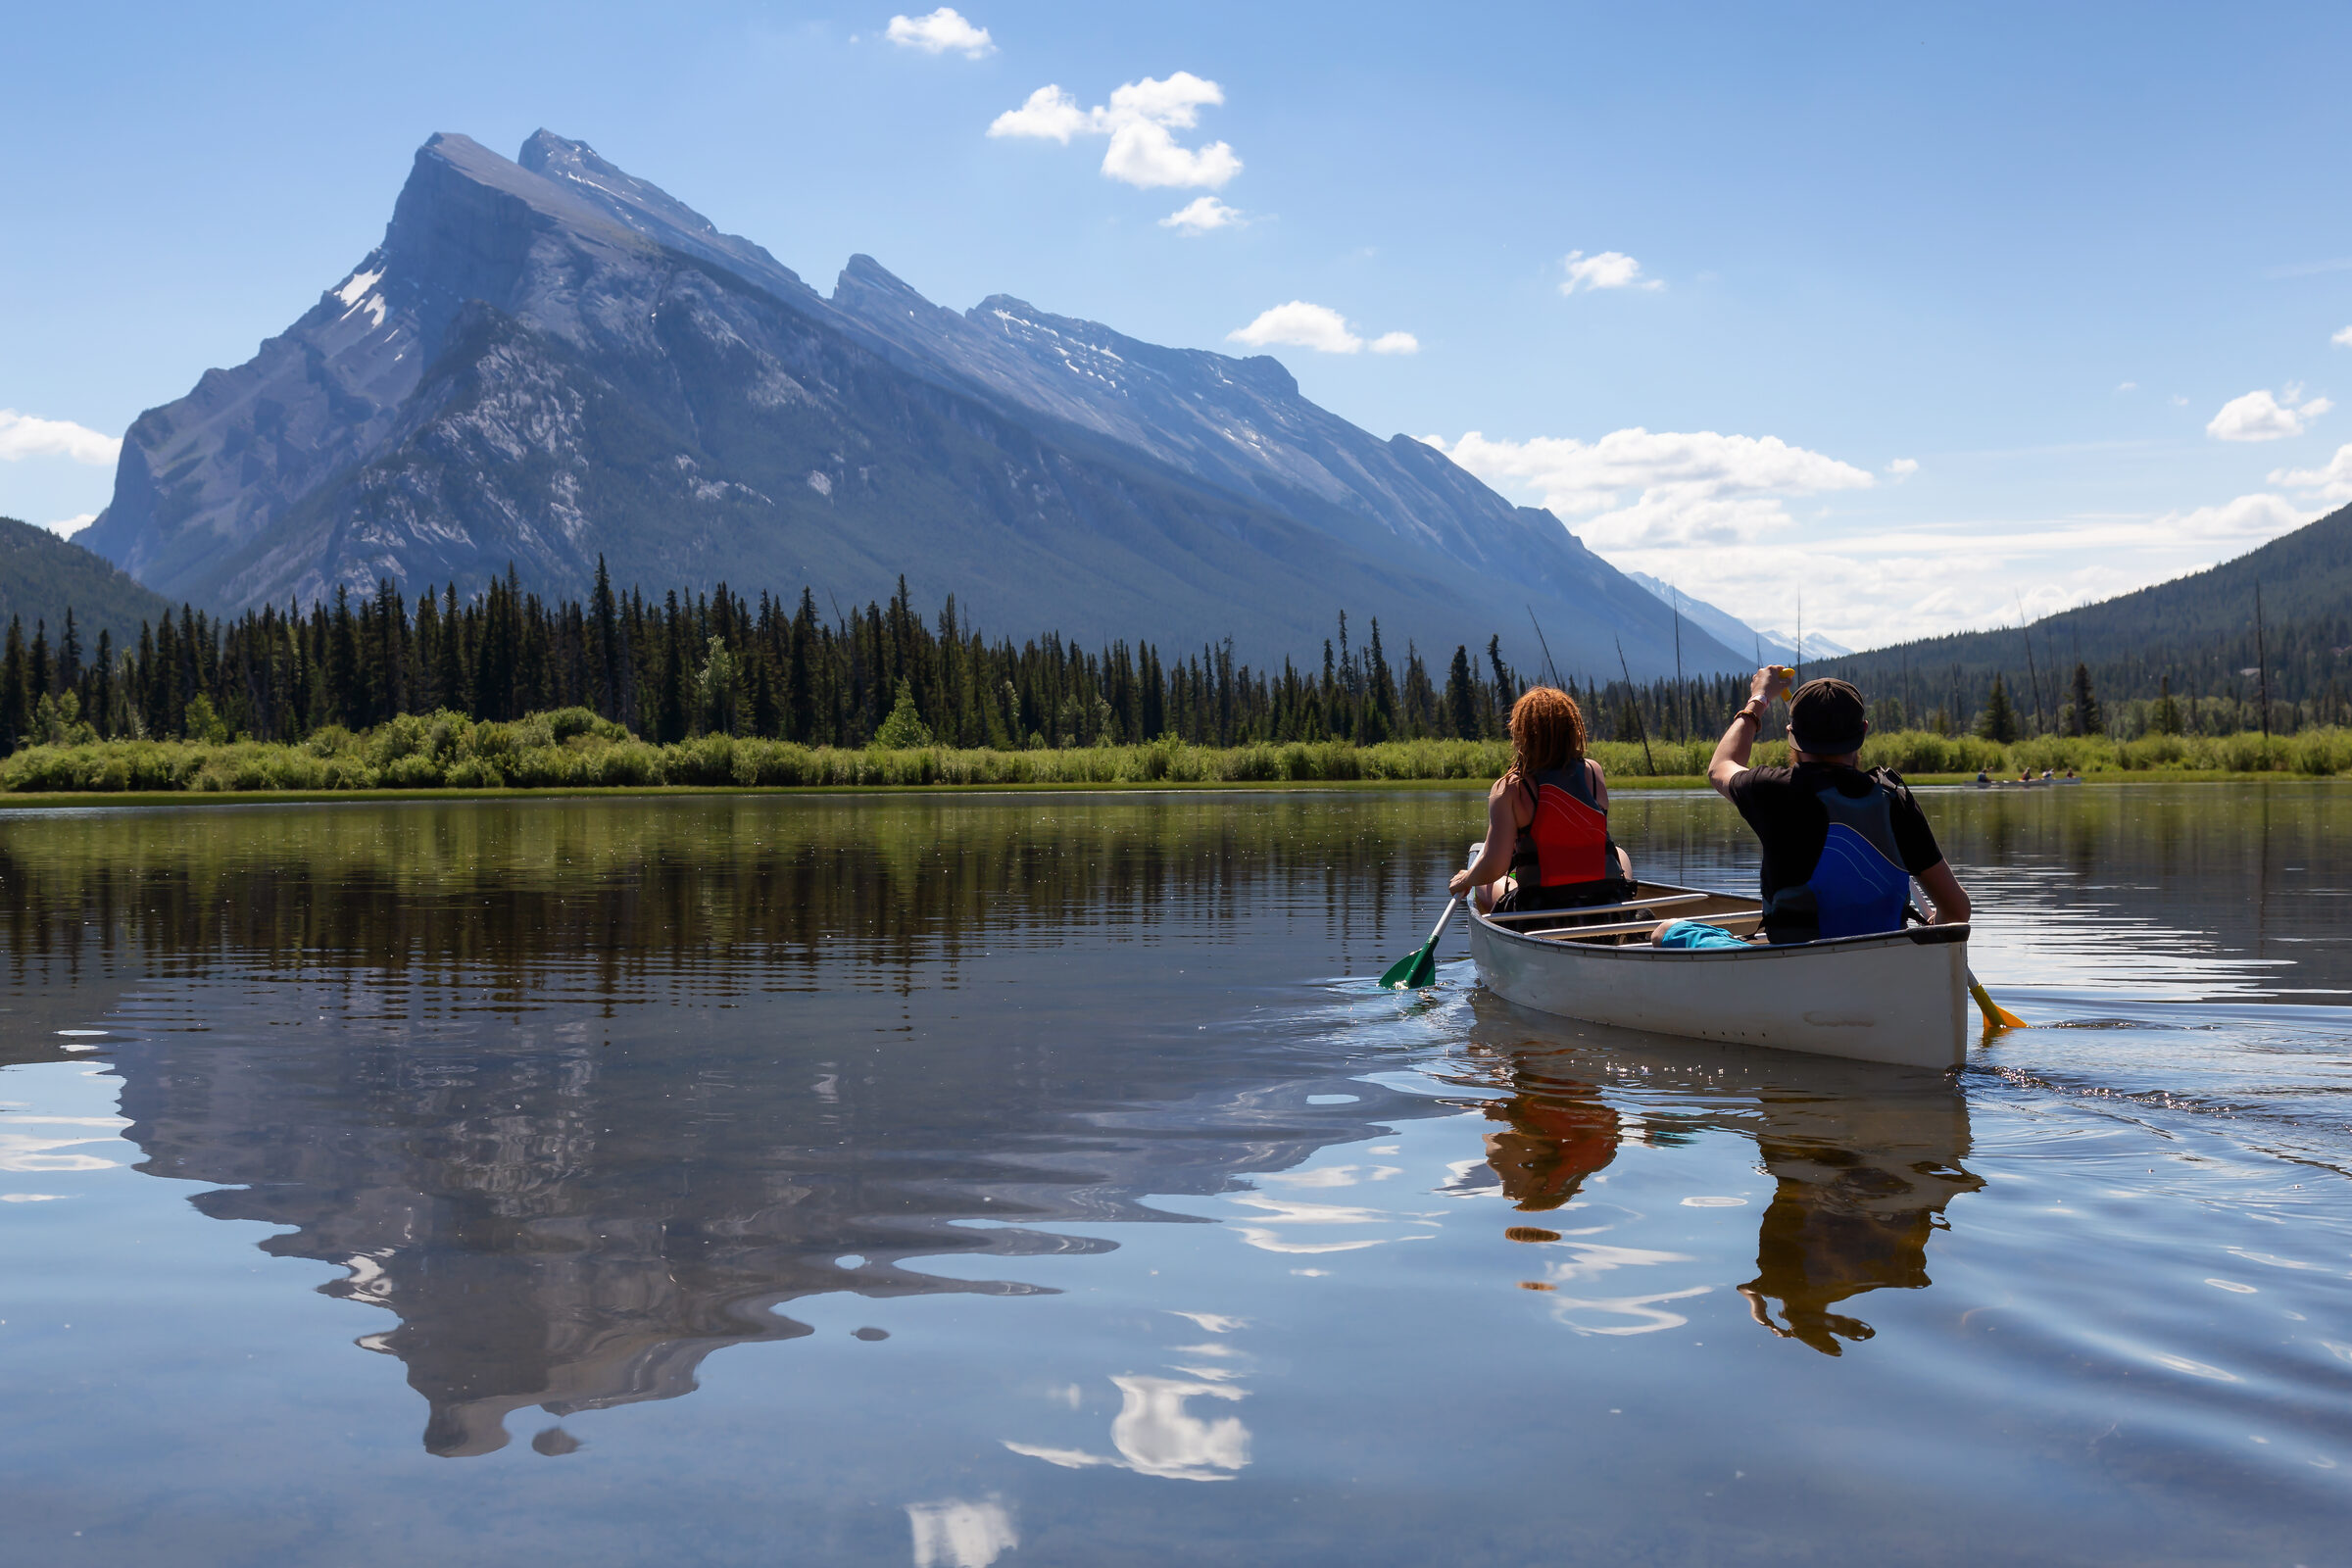
Canoe and kayak safety: capsize, cold water, and getting home
A canoe or a kayak is the most efficient way there is to move a load through wild country, and it is also the boat most likely to turn a good day into a fatal one. Paddlecraft make up a small share of the boats on the water and roughly a quarter of the people who die on it. The pattern behind almost all of those deaths is a short list of decisions made before the boat ever left the beach. This guide covers what actually drowns paddlers, how to dress and load for the water you are actually on, what to do in the first seconds of a capsize, and how to get back into the boat.
Here is the idea underneath the whole guide: the accident is almost never the capsize. Canoes and kayaks tip over. Competent paddlers swim, guides swim, instructors swim. What turns a swim into a drowning is what the capsize finds. A life jacket stowed under a thwart instead of worn. Clothing chosen for the air temperature rather than the water temperature. A shore that looked close from the seat and is not. Nobody who knows where you went. Fix those four and a capsize becomes a wet, annoying half hour.
What actually drowns paddlers
Boating fatality statistics are unusually useful, because the same few facts show up year after year on both sides of the border and they point at things you control.
Small boats, not big ones. In the most recent United States Coast Guard figures, kayaks, canoes and paddleboards together account for about a quarter of all recreational boating deaths. Four out of five people who drowned were aboard a vessel under 21 feet (6.4 m). Canada tells the same story from a different angle: canoes alone are involved in close to a quarter of recreational boating fatalities, with kayaks adding several percent more.
The life jacket was not being worn. Drowning causes about three quarters of boating deaths, and 87 percent of those victims were not wearing a flotation device. Canadian canoe deaths are more lopsided still: in the Lifesaving Society’s national reporting, about 95 percent of people who died in canoes were not wearing a life jacket or PFD. Almost none of these were cases of a life jacket that failed. They were cases of a life jacket sitting in the boat.
The water was cold. Roughly half of Canadian boating deaths happen in water below 50°F (10°C), and most of the rest in water between 50 and 70°F (10 and 21°C). Very few happen in genuinely warm water. Cold water is not a winter problem. A lake in late May can be 45°F (7°C) under an 80°F (27°C) sky.
They were close to shore, and often alone. Most paddling fatalities happen within sight of land, frequently within a few hundred feet of it, and being alone shows up repeatedly as a risk factor. Distance across water is deceptive, and a swim that looks like nothing from a seat 10 inches (25 cm) above the surface is a different proposition with your chin at water level.
Alcohol. It remains one of the leading known contributing factors in fatal boating accidents. It also accelerates heat loss and wrecks the judgment you need for the go/no-go call.
The composite accident
Nearly every fatal paddling accident is the same story: a small open boat, cold water, no life jacket worn, close to shore, often alone, and often a swim to shore attempted. Everything before that last item was settled on land, and the swim is the decision those earlier choices leave you holding, in cold water, with minutes to make it. None of it is bad luck.
The life jacket you are wearing
There is no way to write this that sounds fresh, so here it is plainly: the life jacket only works if it is on your body when you go in. You will not put one on afterwards. The first minute in cold water is spent gasping and fighting for breath, your hands lose fine motor control within a few minutes, and a swamped boat in wind moves away from you faster than you can swim after it. Wearing it is the single decision that separates the survivors from the statistics.
Get the right type. For most flatwater canoeing and touring, an inherently buoyant vest (Type III in the American system, a Canadian-approved PFD north of the border) with wide armholes and a short cut that clears the boat’s seat is right. For whitewater, use a whitewater-specific vest with a quick-release rescue belt only if you are trained to use one. Inflatable belt packs and inflatable vests are poor choices for paddling: a manual inflator requires you to be conscious and functional at exactly the moment cold shock has taken those away, and a paddler who capsizes under a low branch or gets pinned wants buoyancy that is already there.
Fit it properly. Do up every buckle, then tighten from the bottom straps upward. Have someone pull up hard on the shoulders. If the vest slides past your ears, it is too loose or too big, and in the water it will ride up over your face. Children need a jacket sized to their weight, with a crotch strap and a head-support collar for the youngest.
Know the law, then exceed it. American federal rules require a wearable, approved life jacket for every person aboard, kept readily accessible rather than sealed in packaging, and every child under 13 must wear one on a vessel under way. Canadian rules require an approved PFD of the right size for every person on board, and the rules are about carrying rather than wearing. That legal difference has no bearing on physics. Wear it.
Hang your safety kit on it. A pealess whistle on the shoulder strap, where you can reach it with a numb hand, is worth more than any amount of shouting. Three blasts is the distress signal in North America, where six belongs to the European alpine convention rather than ours, and a whistle carries over wind and water when a voice does not. A stainless knife sheathed on the front, because a folder you have to open two-handed is a poor bet once your fingers have stopped working. And, if you carry one, your satellite messenger in a chest pocket rather than in the boat. What is in the boat leaves with the boat.
Dress for the water, not the air
This is the rule paddlers break most often, and the reason so many accidents happen on beautiful days. You dress for the sunshine, you capsize, and the water you have just entered has no idea what the air is doing.
You may run into the so-called 120 rule, which tells you to add the air temperature and the water temperature in Fahrenheit and to wear thermal protection only if the sum falls below 120. It is popular, it is easy to remember, and it has no scientific basis at all. Applied literally it says that 53°F (12°C) water is fine without protection as long as the air is 72°F (22°C). It is not fine. Once you are submerged, the air temperature is doing nothing for you.
Use water temperature by itself. The practical thresholds:
- Above 70°F (21°C). Normal clothing is reasonable. Cold shock is unlikely, though long immersion still cools you.
- 60 to 70°F (15 to 21°C). Cold enough for a real gasp reflex. Wear synthetic or wool layers, carry a paddling jacket, and keep your swim short.
- 50 to 60°F (10 to 15°C). Wetsuit or drysuit territory for anything beyond an easy shoreline paddle. Assume your hands stop working in about 10 minutes.
- Below 50°F (10°C). Drysuit with insulating layers underneath, or do not go out of swimming range of shore. This is where cold shock alone drowns strong swimmers.
Check the water temperature rather than guessing. Large lakes lag the air by weeks, and a lake that is 68°F (20°C) at the surface in a sheltered bay can be 20°F colder, that is 11°C colder, a hundred yards (90 m) out where wind mixes the surface with the deeper layer. Rivers fed by snowmelt run cold all summer. Look it up before you leave home. NOAA’s National Data Buoy Center reports water temperature from more than a hundred stations across the Great Lakes and both coasts, many USGS river gauges carry it alongside flow, and Environment Canada publishes buoy observations for the Great Lakes, the Gulf of St. Lawrence and both Canadian coasts, with seasonal buoys on a number of large inland lakes. Where nothing is gauged, ask a local outfitter or paddling club, and treat your own reading at the launch as the warmest water you will meet rather than the average.
Cotton has no place in the boat. Wet cotton pulls heat out of you and stays wet all day. Merino or synthetic next to the skin, a wind and water shell over it, and a spare warm layer sealed in a dry bag. Our guide to what to wear in the bush covers the layering logic in full, and cold-water immersion covers what actually happens to your body during that first minute.
The one-minute test
Before launching in cool weather, ask what happens if you are in the water for 10 minutes. If the honest answer involves hands that no longer work, a boat you cannot climb into and a shore you cannot reach, the fix is a wetsuit, a drysuit, or a different route closer to shore. It is never optimism.
The go/no-go call before you launch
Wind is the flatwater paddler’s weather. It builds waves, it pushes you downwind faster than you can paddle back, and it turns an easy crossing into a committed one. Scattered whitecaps mean roughly 10 knots, about 12 mph (19 km/h), and that is the practical ceiling for a novice on open water. From 11 to 16 knots, about 13 to 18 mph (21 to 29 km/h), only confident paddlers with bracing skills should be out on exposed water. Above roughly 20 mph (32 km/h) it is not a paddling day for anyone in an open canoe.
Fetch matters as much as wind speed. The distance the wind travels over open water determines wave size, so 15 mph (24 km/h) blowing along the length of a 10-mile (16 km) lake builds much bigger water than the same wind across a narrow one. Plan a route that keeps the fetch short: hug the windward shore, where the water is flat, rather than the downwind shore where the waves pile in.
Time of day is a lever. On most inland lakes the wind is lightest at dawn and builds through the afternoon as the land heats. Long crossings belong to early morning. Our guide to reading backcountry weather covers the diurnal cycle and how to read a point forecast, and lightning safety covers the other reason to be off the water by mid-afternoon in summer. A boat is the most exposed place in the landscape during a thunderstorm.
On rivers, check the level, not just the sky. Water level and flow rate change the character of a run completely, and a river at twice its normal flow has fewer eddies, faster water, and more strainers in play. Know the class of the rapids on your route and be honest about whether you can portage them if you arrive and do not like what you see.
Leave word. Someone on shore should know your put-in, your take-out, your route, your boats and colours, and when to raise the alarm. This matters more in a boat than on a trail, because a paddling party can be a long way from a road with no way to walk out. Our trip planner will build and send that itinerary for you, and trip planning covers the wider process.
Loading the boat and getting in
Weight low, weight centred. Gear goes on the floor, not on the seats or the deck, and heavy items go near the middle of the boat where they sit over the waterline rather than at the ends where they make the boat pitch. A canoe trimmed slightly bow-light handles wind and waves better, though a strong tailwind can argue for the opposite.
Keep some freeboard. Freeboard is the height from the waterline to the gunwale, and it is your margin against waves and wakes. A canoe loaded until the gunwale is 6 inches (15 cm) above the water will take a wave over the side in conditions a lighter boat shrugs off. If you cannot see daylight between your load and safe freeboard, make two trips or leave gear behind.
Secure gear, never yourself. Packs should be tied or clipped so they do not fall out and float away, but a swamped canoe full of tied-in gear is heavy and hard to right, so use loops you can release. Never tie anything to your body, never loop a line around a wrist, and never carry a rope in a way that can tangle you. In moving water, entanglement kills.
Flotation belongs in the boat. A sea kayak’s sealed bulkheads and a canoe’s air bags keep it floating high enough to empty and re-enter. An open canoe with no flotation, swamped, floats just under the surface and is nearly impossible to recover. Air bags are cheap and they are what makes self-rescue possible.
Painters at both ends. A line at bow and stern, roughly 15 feet (4.5 m) long and stowed so it cannot uncoil on its own, gives you something to hold, to line the boat with, and to hand to a rescuer.
Getting in without swimming first. Most capsizes happen at the shoreline or the dock, which is funny right up until the boat lands on someone. Keep your weight low and over the centreline, hold both gunwales, and move one point of contact at a time. Never step on the gunwale. From a dock, put the paddle across the boat behind the cockpit or seat, brace on it, and sit before you swing your legs in.
Staying out of trouble on the water
Stay in a group, and stay in sight. A group of boats can rescue itself. A boat alone cannot. Set a lead boat that nobody passes and a sweep boat that nobody falls behind, keep the spacing tight enough to shout across, and stop at every point where the route could split. If you are the only boat, stay close enough to shore that swimming there is trivially easy, and accept that this rules out most of the interesting crossings.
Treat a crossing as a commitment. Before leaving a shore, ask what happens in the middle if the wind rises, someone capsizes, or a boat swamps. Cross at the narrowest point, cross early in the day, cross as a tight group, and pick a bail-out shore downwind. If your crossing takes 20 minutes, the weather has 20 minutes to change with you unable to do anything about it.
Meet waves at an angle, and brace. Take waves and boat wakes bow-on or at a slight angle rather than broadside. When the boat leans, the instinct to sit up rigid is exactly wrong: keep your hips loose so the boat can rock under you, and slap a low brace flat on the water with the back of the paddle blade for support. A capsize is usually a locked body, not a big wave.
Give powerboats room and assume you are invisible. You are low, narrow, and often the same colour as the water. Bright hulls and bright life jackets are a real safety feature, not a fashion choice. Cross channels quickly and at right angles.
Get off the water for lightning, wind, and darkness. All three are the same decision made too late. Watch the sky upwind, watch the surface for the dark line of an approaching gust, and land while landing is still easy. Carry a headlamp even on a day trip, because the last hour of a longer than expected day is when everyone gets tired and careless.
The upwind glance
Every ten minutes, look upwind and behind you. Almost everything that will hurt you on a lake, a gust front, a squall line, a boat coming fast, arrives from a direction you are not facing. Ten seconds of looking buys the twenty minutes you need to reach shore.
The first seconds of a capsize
You are in the water. What happens in the next thirty seconds determines almost everything.
Control your breathing first. If the water is cold you will gasp involuntarily and your breathing rate will spike. That reflex peaks in the first minute or so, and it is what drowns people who could easily have swum. Get your face clear, blow out, take slow breaths, and make no decisions until the gasping stops. This is the first minute of the 1-10-1 timeline covered in cold-water immersion: roughly one minute to get your breathing under control, about 10 minutes of useful movement before your hands and arms fail, and roughly an hour before hypothermia takes consciousness.
The roll comes first, if you have one. In a sit-inside kayak the best outcome is not getting back into the boat, it is never leaving it. A roll rights you and the kayak together, and on whitewater it is the primary self-rescue, because a swim in a rapid drops you into every hazard in caught in whitewater at once. It also cannot be taught on a page, including this one. It is a hip and timing movement that takes pool sessions with an instructor and then enough repetition that it still works when you are cold, disoriented, upside down in moving water and short of breath, which is well beyond the scope of this guide. Until your roll is reliable in real conditions rather than in a warm pool, treat whitewater in a sit-inside boat as a different level of commitment and plan around the swim rather than the roll.
Wet exit, when the roll is not there. Stay calm, lean forward against the deck, pull the spray skirt’s grab loop forward and up, and push yourself out with your knees. Practise this in warm shallow water until it is boring. Being upside down in a boat is disorienting the first time and unremarkable the tenth.
Hold on to your paddle and your boat. The boat floats, it is far more visible to searchers than a head, it supports you, and it is your ride home. Get a hand on it immediately, because in wind an empty hull drifts faster than you swim. Hook the paddle under an arm or clip it to the deck line.
Count heads out loud. The first thing anyone in the water says is the number of people who went in. In a group, the first thing the nearest upright boat does is count.
On a river, get to the upstream side of your boat. A swamped boat weighs tons and it does not stop for you. Never put yourself between the boat and a rock, a bridge pier, or the bank. Feet downstream and up near the surface, on your back, and let go of the boat the moment it starts pushing you toward anything solid. The full picture of being swept along, including foot entrapment, strainers, and how to use eddies, is in caught in whitewater.
Do not swim for shore
This is the decision that turns capsizes into fatalities. Distance over water is badly underestimated, cold water strips your swimming ability within minutes, and a life jacket that keeps you floating does not keep you swimming. Stay with the boat unless shore is genuinely a few strokes away, the boat is gone, or the boat is being carried somewhere lethal. Hanging on to a floating hull, you can survive far longer than you can swim.
Getting back into the boat
Every one of these is a skill, not a piece of knowledge. Read them, then go practise them in warm water near a beach, with a friend, before you need them. A rescue you have done ten times takes two minutes. A rescue you have only read about often does not work at all.
Canoe over canoe, the workhorse group rescue. The rescuing canoe comes alongside the swimmers first and checks that everyone is holding their boat and unhurt, then takes their paddles and loose gear aboard. If the swamped canoe is fully inverted, the seal of trapped air makes it almost impossible to lift, so break the suction: reach down, grab a gunwale, and roll it partway. Then the rescue boat turns perpendicular to the swamped one, forming a T at one end. The swimmers push down on the far end while the rescuers haul the near end up and slide the boat across their own gunwales, draining as it comes. Roll it upright, slide it back into the water alongside, and hold the two boats together, gunwale to gunwale, with a firm grip while the swimmers re-enter.
Re-entering from the water. Come in over the side of the boat, not the end. Get your body horizontal on the surface first, kick hard to plane yourself up, and come across the gunwale on your stomach, then rotate and sit. Trying to climb vertically, hauling yourself up by the arms, fails for most people even when they are warm.
The kayak T-rescue. The rescuer approaches the bow of the capsized kayak and turns perpendicular to it, forming the T. The swimmer stays at their own bow and helps push it up while the rescuer draws it across their own deck, breaking the seal and draining the cockpit. The rescuer flips it upright, slides it back into the water parallel to their own kayak, and leans across it as a bridge while the swimmer re-enters from the far side, coming onto the back deck on their stomach and sliding feet-first into the cockpit.
Paddle-float self-rescue, when you are alone. Slide the inflatable float onto one paddle blade and inflate it, right the kayak, and set the paddle across the deck just behind the cockpit with the float end out to the side as an outrigger. Hook a leg over the shaft, kick up onto the back deck on your stomach, keep your weight over the float side, then twist and slide your legs in. Pump the cockpit dry, secure the skirt, and only then break down the outrigger. The trade-off is honest: it is slow, it is awkward in waves, and it is much harder in cold water than in the practice bay.
Sit-on-top kayaks are the easy case. Flip the boat upright, get alongside the middle, reach across and grab the far edge or the handles, kick your legs up to the surface and pull yourself flat across the deck, then rotate into the seat. This is one of the strongest arguments for a sit-on-top on warm open water.
When to give up on the boat. If you cannot empty and re-enter within a few minutes in cold water, get out of the water rather than out of trouble: swim the boat to the nearest shore by pushing it ahead of you while kicking, which is far more efficient than towing. If the boat is gone, or is heading into a hazard, let it go and save yourself. Then treat the cold as the next emergency, because it is: dry layers, shelter from wind, a fire if you can build one, and the full sequence in our guide to hypothermia.
If someone else is in the water
The order is reach, throw, row, go, and it exists because would-be rescuers drown at a depressing rate. Each step keeps you a little further out of the water than the last.
Reach. A paddle, a branch, a pole, an arm from a stable stance on shore. Lie down and brace yourself so you cannot be pulled in.
Throw. A floating throw line is the single most useful rescue item in a boat, and Canadian regulations require a buoyant heaving line at least 50 feet (15 m) long in almost every paddlecraft for exactly this reason. Hold the loose end, or better, stand on it, and throw past the swimmer so the line lands across them. Shout before you throw. Have a second throw ready, since the first one usually misses.
Row. Take a boat to them. Approach from downwind so you do not get blown onto them, keep the swimmer at the bow or the side, and never let a panicking person grab the gunwale and climb, which will put you both in the water.
Go. Swimming to a swimmer is a last resort and should be done only with flotation you can push ahead of you.
Once they are out. Someone who has been in cold water for more than a few minutes is a hypothermia patient even if they say they are fine. Get them horizontal, cut or strip the wet clothing, insulate them from the ground, wrap them, and let them warm up slowly. Handle them gently, since rough handling and standing up too soon can be dangerous after a long immersion. Our guides to cold-water immersion and wilderness first aid cover the treatment sequence, and signaling for rescue covers getting help in if you need it.
Lakes, rivers, and salt water
Lakes. Wind and fetch are the whole story, plus the temptation of crossings that shorten the route. Big northern lakes hold cold water deep into summer and can go from mirror flat to whitecaps in half an hour. Route along shorelines, use islands as stepping stones and as shelter, and accept that a windbound day in camp is a normal part of a canoe trip rather than a failure.
Rivers. The hazards are structural rather than meteorological: strainers, undercut rocks, holes and hydraulics, low-head dams, and the ever-present risk of foot entrapment in water that is barely knee deep. Scout anything you cannot see the bottom of from upstream, and portage anything you would not want to swim.
Low-head dams, and how to get out of one. Treat every low-head dam as lethal. A low-head dam is a wall built straight across the river, often only 3 to 6 feet (1 to 2 m) high, with the water pouring evenly over the whole crest. From upstream it is nearly invisible, giving you a flat horizon line and a hiss and nothing else, and the hydraulic below it runs bank to bank with no ends to swim out of, so it recirculates a swimmer indefinitely. Rescuers call them drowning machines and they kill the people who go in after the victim as reliably as the victim. Get out and portage every one, at any water level, in any boat. If you are already caught in the boil below one, fighting for the surface is what kills people, because the surface water there is running back upstream into the face of the dam. The escape is the opposite and it takes nerve: swim into the curtain of falling water, tuck into a ball, and let it drive you down toward the riverbed, where the current is finally moving downstream. Then swim downstream along the bottom for as long as your breath holds before surfacing, and expect to need more than one attempt. Keep your life jacket on while you do it, because the old advice to take it off to escape a recirculation is wrong and has killed people who followed it. The same technique is the way out of any deep hydraulic.
All of this is covered in full in caught in whitewater, and the on-foot version of the same problem is in how to cross a river safely.
Salt water and big water. Tides, tidal currents, and offshore wind add failure modes that inland paddlers do not carry a mental model for. An offshore breeze feels wonderful on the way out and is a serious problem on the way back. Tidal races run faster than you can paddle. If you are moving from lakes to the coast, take a course rather than assuming your skills transfer.
What to carry, on your body and in the boat
The division matters more than the list, because everything in the boat can leave with the boat.
On your body:
- The life jacket, worn and done up, with a whistle and signal mirror attached.
- A knife you can draw and use with one cold hand, sheathed on the vest rather than folded in a pocket. Our guide to wilderness knives covers the fixed-blade against folder trade-off.
- A signalling device that works where there is no cell coverage: a satellite messenger for two-way contact or an emergency beacon for one-button rescue.
- Your phone in a waterproof case, on a leash, useful for a map and a call when there is coverage. See using your phone as a backcountry GPS.
In the boat, secured:
- A bailer or a bilge pump. Legally required in Canada, and the difference between draining a boat in two minutes or twenty.
- A floating throw line of at least 50 feet (15 m), stowed where you can reach it instantly.
- Painters at bow and stern, and flotation bags in an open canoe.
- A spare paddle for any trip where losing one would strand you.
- Dry insulation in a dry bag: a warm layer, a hat, and an emergency bivvy, so that reaching shore means getting warm rather than standing there shivering.
- Fire and light: a reliable ignition source in a waterproof container, and a headlamp.
- A waterproof first aid kit, because everything else in the boat is going to get wet.
- Repair tape and a small tool for hull damage and loose hardware.
- A sound-signalling device, required in both countries, which the whistle on your vest satisfies.
American and Canadian minimum equipment rules differ in the details, and both are minimums rather than a packing list. Canadian rules for most paddlecraft add the heaving line, a bailer or pump, and navigation lights after dark to the PFD and sound signal. Check your own jurisdiction before a trip, especially if you are crossing the border with a boat.
Key takeaways
Capsizing is a normal event and drowning is not, and everything that separates the two is decided before you launch. Wear the life jacket, on your body, buckled, every time, because almost nobody who drowns from a paddlecraft was wearing one and nobody puts one on after a cold shock. Dress for the water temperature and ignore the 120 rule and every other formula that lets a warm sky excuse cold water: below 60°F (15°C) means a wetsuit or a drysuit, and below 50°F (10°C) means a drysuit or staying within easy swimming range of shore. Make the go/no-go call on wind and fetch before you leave the beach, cross early in the day at the narrowest point, and hug the windward shore. Load the boat low and centred, keep real freeboard, put flotation in an open canoe, and secure your gear without ever tying anything to yourself. On the water stay in a group, look upwind every few minutes, and land early rather than late. If you go in, control your breathing first, hold on to your paddle and your boat, count heads, and stay with the boat: swimming for a shore that looks close is the classic fatal error. Practise the canoe-over-canoe, the T-rescue, and the paddle-float re-entry in warm water until they are dull, because a rescue you have only read about tends not to work. If someone else is in, reach, throw, row, and only then go, and treat them for cold the moment they are out. And tell someone on shore where you are going and when to worry, because a paddling party in trouble is often nowhere near a road.
Read our companion guide to surviving cold-water immersion
Statistics from the U.S. Coast Guard Recreational Boating Statistics report and the Lifesaving Society’s Canadian Drowning Report; cold-water guidance follows the National Center for Cold Water Safety; equipment requirements from the U.S. Coast Guard and Transport Canada’s Safe Boating Guide. This is general education and no substitute for a hands-on paddling or swiftwater rescue course, which is the only way to learn rescue skills properly.
Wilderness Experts is reader-supported. As an Amazon Associate we earn from qualifying purchases; when you buy through links on our site we may earn a commission at no extra cost to you. It never changes what we recommend.