
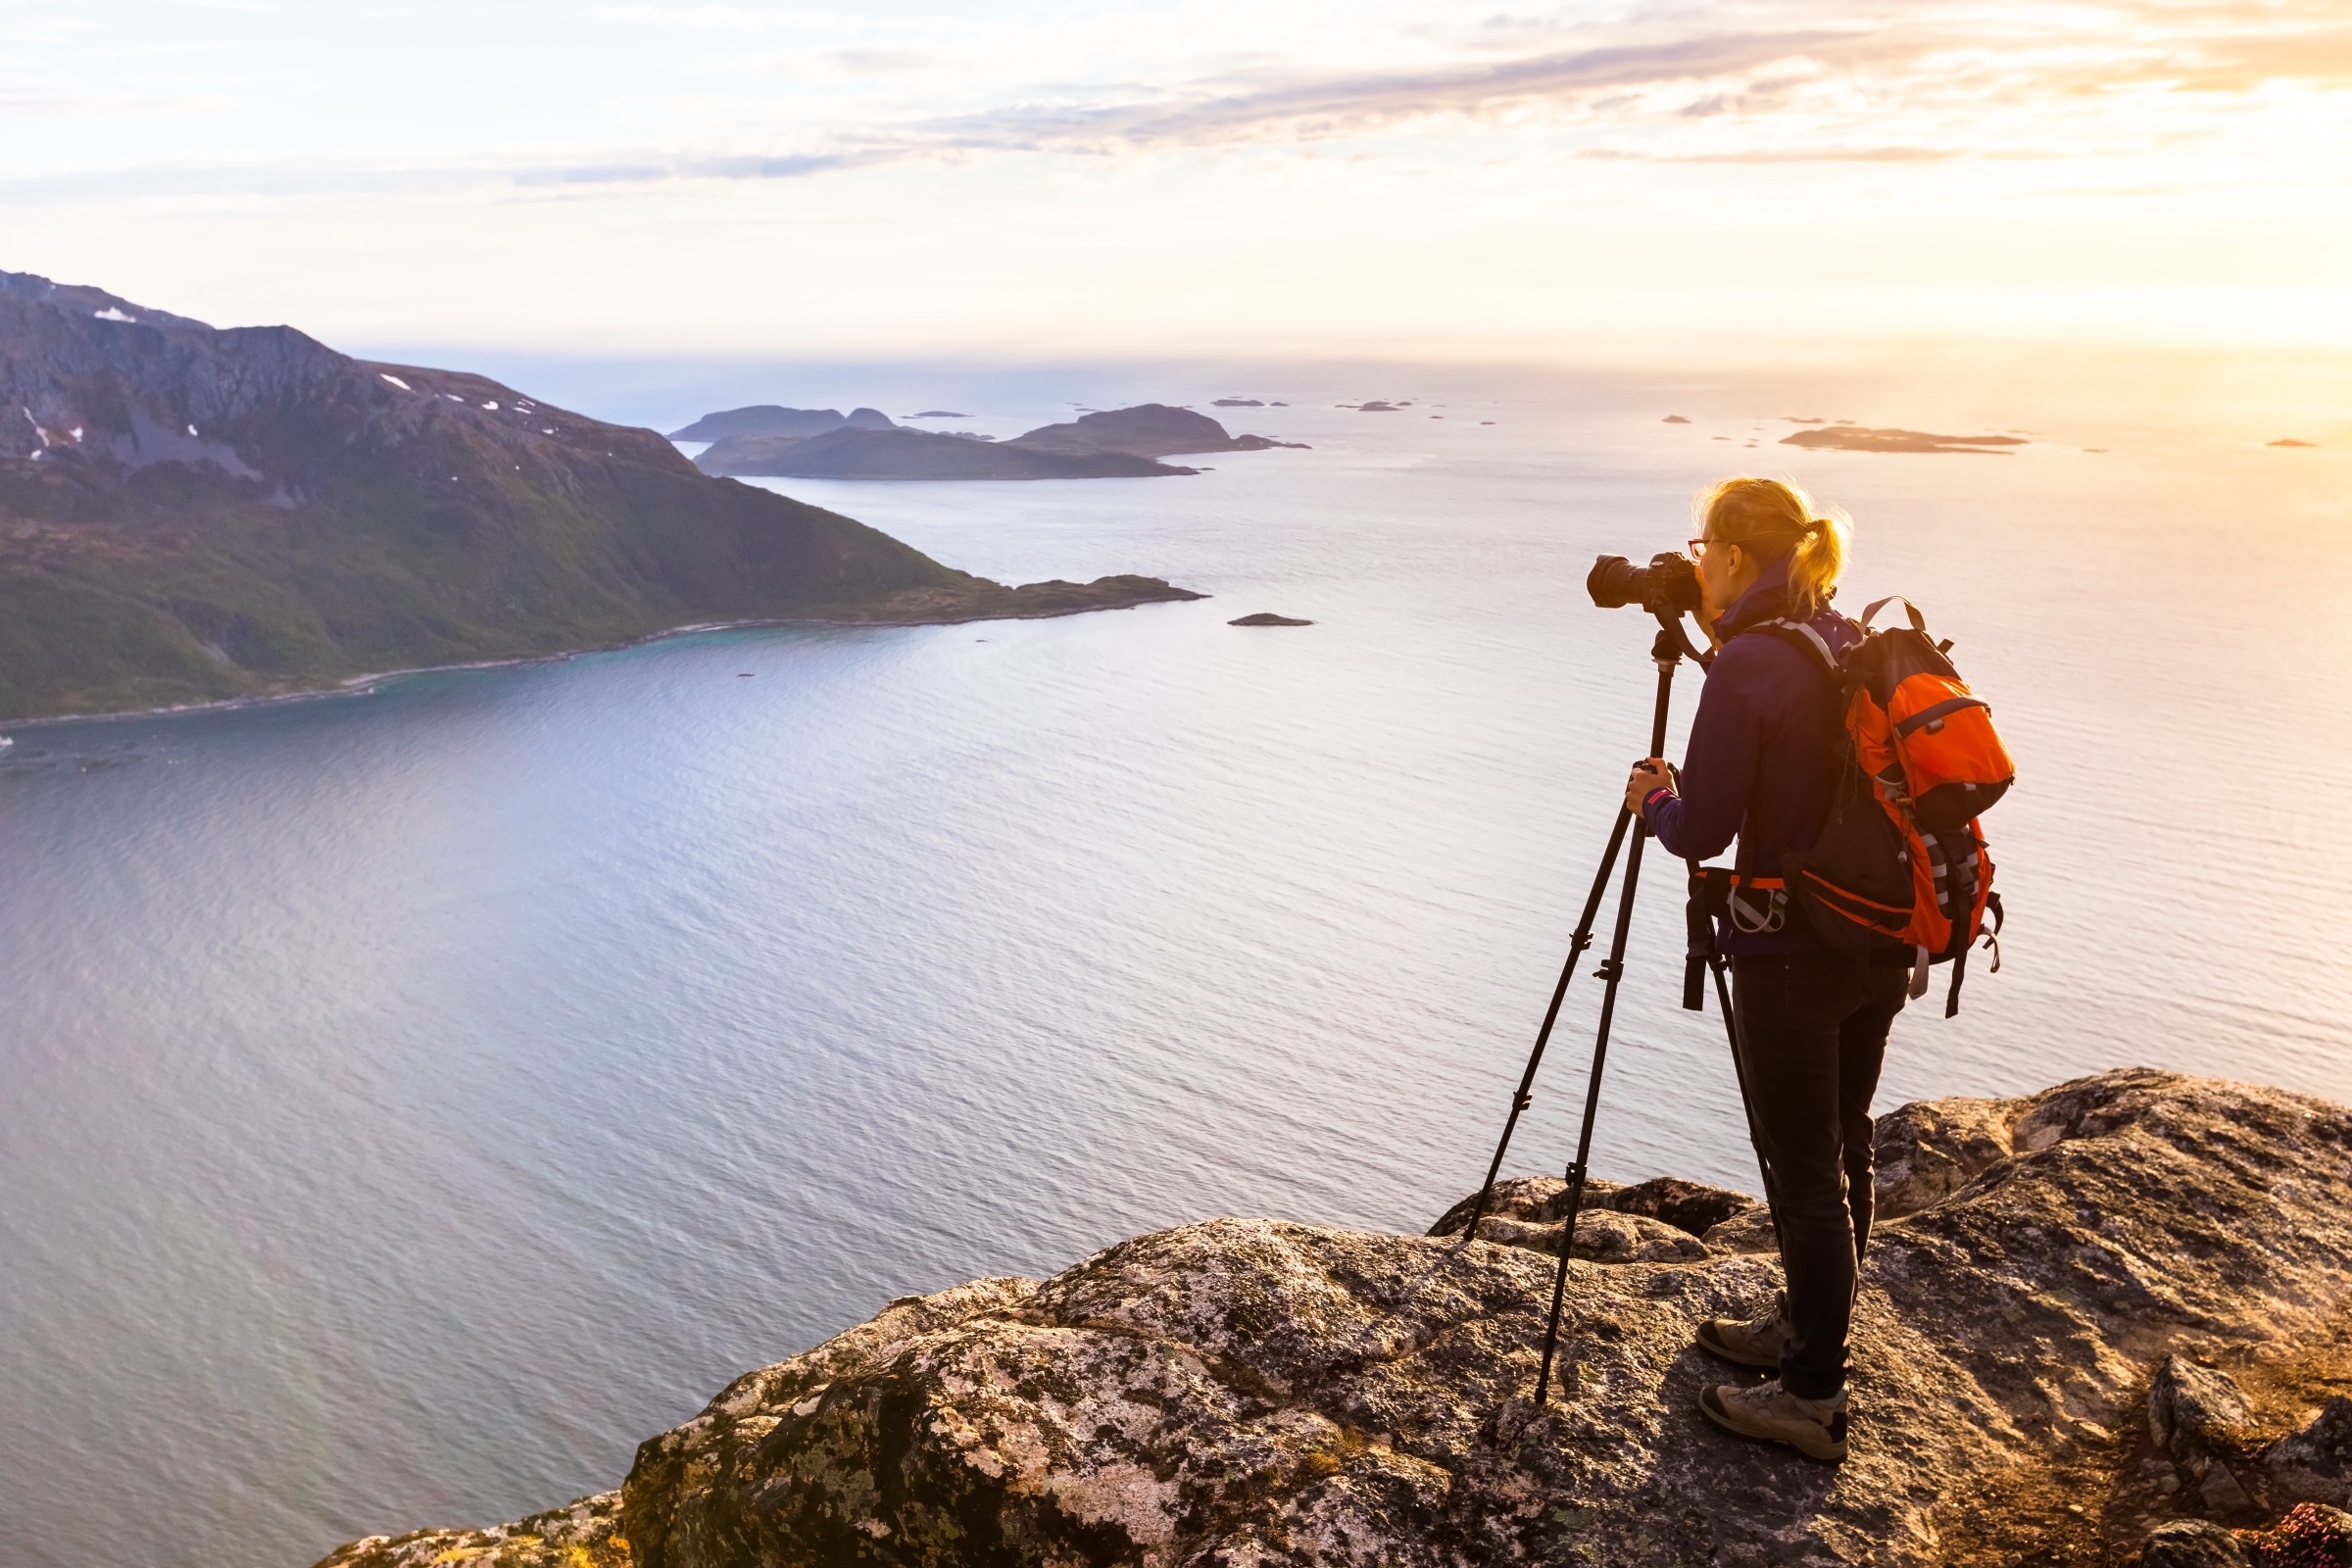
Photographing alone at dawn and dusk: how to get the shot and get home
You already know when the good light is: the golden hour just after dawn or just before dusk, and the twilight on either side of them, when most hikers are in bed or heading back to the car. Capturing it means walking in before dawn or walking out after dark, often alone, usually to a spot a little off the trail, and then standing still with your attention on a small screen. None of that is reckless, and photographers do it every day. It does mean common hiking advice needs adjustment, because that guidance is generally written for people moving in daylight and watching where they put their feet. This guide covers scouting, timing the walk around the light, moving in the dark, working near edges and water, staying warm while you wait, wildlife at the hours it is most active, and deciding when to pack up. The wider rules for going out by yourself are in hiking alone; this article is about what changes when you are carrying a camera.
The rule that matters most
Before you leave, someone you trust should know the trailhead you are starting from, the area you will be working and the time to call for help if they have not heard from you. Set that time for after the walk out, not for sunset. You will often not know exactly where you will set up, and that is normal: with the plan, a search starts on the right trail, and a message or a marker when you step off that trail narrows it further. A photographer who slips 200 yards (180 m) off the trail at dusk is in the dark, out of sight of the path, at the hour when everyone else has gone home. Our Leave Word tool sends your contact the area and the places you expect to stop, and puts your call-for-help time in their calendar.
Why the edges of the day are different
A day hiker and a photographer can walk the same trail and face different risks, because the photographer is there at a different hour and performing a different task.
- Half of the trip is in the dark. A sunrise shoot starts with a walk in by headlamp. A sunset shoot ends with one, and that walk out may be a descent on tired legs. In a 22-year review of rescues in Baxter State Park, slips and falls caused two thirds of injuries, and 84 percent of incidents with a recorded direction happened on the way down.
- Your eyes are on the frame. Composing through a viewfinder or on a rear screen takes your attention off the ground, the edge, and what’s behind you for minutes at a time.
- You stand still for a long time. A hiker generates heat by moving. A photographer waiting an hour for the light generates very little, at the coldest part of the day.
- The spot is often off the trail. The foreground you want is rarely on the path. A short walk to a ledge, a shoreline or a clearing puts you where other hikers will not pass and searchers will not look first.
- Nobody else is around. On a popular trail at noon, a twisted ankle is seen by the next party within minutes. At 5 a.m. or an hour after sunset, the next party may be twelve hours away.
What the accident reports show
Photographers fall from cliffs, ledges and waterfalls every year, and the reports have a pattern: the person was experienced or careful, the place was a known viewpoint, and the moment was an ordinary one.
- Acadia, Maine, June 2016. A 68-year-old man left his wife in the car and walked to a bluff between Sand Beach and Thunder Hole in Acadia National Park to photograph the sunset. When he did not come back, she flagged down a ranger. He had fallen about 40 feet (12 m). Searchers located him but could not reach him before the rising tide carried him away.
- West Vancouver, British Columbia, March 2021. Hikers in Lighthouse Park found a backpack with nobody near it in the early evening and called police. Searchers saw a camera and tripod at the base of a cliff about 30 feet (9 m) high and found the body of a man in his early seventies at the water’s edge. Police concluded he had most likely slipped while trying to take a picture. He was alone, and the alarm was raised only because strangers noticed his pack.
- Oregon coast, May 2022. Nam Ing, 56, an accomplished landscape photographer from California, was hiking and photographing with friends at the Natural Bridges viewpoint south of Gold Beach when he slipped off the trail and fell about 300 feet (90 m) to the rocks. The sheriff’s office described the area as beautiful but very dangerous and said its crews are called there often.
- Lamington National Park, Australia, March 2024. A woman in her twenties was photographing with friends at the top of a waterfall when her tripod toppled. She tried to retrieve it, lost her footing, slid about 33 feet (10 m) down a slope and fell a further 13 feet (4 m).
Two of these four people had companions close by, and it made no difference to the fall. What a companion changes is how soon help is called. The two who were alone were found because a wife was waiting in a car and because hikers happened to notice a pack. The rest of this guide is about not falling, and about making sure the alarm does not depend on luck.
Scout the spot in daylight
The most useful safety step is also good photographic practice: see the location in full daylight before you work it in the dark. Many photographers already do this to plan a composition. Add four checks while you are there.
- Walk the whole route in and out, and time it. Note every junction, and look back at each one, because it will look different from the other direction and different again by headlamp.
- Find where the trail ends and your spot begins. If you leave the path, pick out something you will recognise in the dark, such as a signpost, a large boulder or a distinctive tree, and save the point on your phone’s map.
- Look at the ground you will stand on. Find the edge, the loose rock, the wet slab and the undercut bank while you can see them. Choose where the tripod goes and where you will stand, and choose it for footing first.
- Check for signal. Know whether your phone works at the spot, at the trailhead or at neither.
If you cannot scout in person, arrive for a sunset shoot with at least an hour of daylight in hand so that you see the ground before the light goes. For a first sunrise visit to a place you have never seen, choose a spot that is on a marked trail.
Plan the walk backward from the light
Photographers plan around sunrise and sunset to the minute. Plan the walking with the same care.
For sunrise, the sky starts to colour during civil twilight, which begins roughly half an hour before sunrise at the latitudes of the northern United States and southern Canada, and earlier than that in midsummer and farther north. Work backward: the time you want to be set up, less the walking time you measured, less a margin of a third again, because everyone walks more slowly by headlamp. That is when you leave the car.
For sunset, the usable light on the trail ends sooner than the light in the sky. Under tree cover or in a canyon it is too dark to see your footing well before civil twilight ends, while the horizon is still bright enough to photograph. Assume the whole walk out will be by headlamp, and decide before you start whether that walk is one you are content to do in the dark. If it includes a river crossing, a scramble or an unmarked section, pick a different spot for sunset and save that one for a morning, when the light improves as you leave.
Where to find the times. If you are shooting in one of the parks or national monuments we cover, open its page in our destinations guide and select “See the current forecast” under Conditions by month. Along with the forecast, it lists today’s first light, sunrise, sunset and last light on the park’s own clock. First and last light are the start and end of civil twilight: under a clear sky in open country, the limits of travel without a headlamp. The times are for a level horizon, so a valley floor or a slope facing away from the sun is in shade earlier, and in forest or under cloud it is dark sooner. The same section shows how much daylight each month has, which helps when choosing a season.
Walking in and out in the dark
Carry two lights. A headlamp is the main one, and a second small light or a spare set of batteries stays in your pocket. Your phone’s flashlight is a poor third option: it occupies a hand and drains the battery you need for maps and for calling out. The Black Diamond Spot 400 is the headlamp we recommend, and it has a red mode.
Use red light at the spot, white light on the trail. Your eyes take 20 to 40 minutes to adapt fully to darkness, and a few seconds of bright white light reverses it. A dim red light lets you change settings without losing that adaptation, which is why astronomers and celestial photographers use one. Red light is not bright enough to walk rough ground by. When you start moving, switch to white and accept that your night vision has gone for now.
Keep your hands free. A tripod carried in one hand and a camera in the other leaves nothing to catch a stumble with. Strap the tripod to the pack and put the camera away for the walk. If you use trekking poles, the dark descent after sunset is when they help most.
Follow the trail you scouted, not a shortcut. A headlamp lights a circle about as wide as the path and shows little depth, so junctions and switchbacks are easy to walk past. Stop at each one and check it against the map or the one on your phone/GPS. Our guide to navigating in darkness covers this in detail.
Expect ice at dawn. Rock, boardwalks and bridges that were dry the afternoon before can carry frost or a thin glaze of ice at first light in spring and fall. Slip-on traction such as Kahtoola Microspikes weighs little and is useful to have in the pack in those seasons.
At the spot: feet first, then the frame
Most photographers who fall do so while doing something ordinary: stepping sideways for a better angle, reaching for a filter, or backing up to fit more into the frame.
- Set your position before you look through the camera. Decide where your feet will be, look at what is behind and beside you, and only then compose. If you want a different angle, take your eye off the camera, look, move, and compose again.
- Avoid walking backward. It is the most natural move in photography and the one that takes people over edges and off banks. Turn around, walk, and turn back.
- Keep a body length from any drop. At an unfenced edge, stay at least 6 feet (2 m) back, and farther on loose, wet or sloping ground. Cliff edges of soil, sandstone or snow can be undercut, with nothing beneath the lip. A longer lens or a taller tripod position changes the foreground almost as much as the extra step would.
- Stay behind barriers. Railings at overlooks are set back from ground known to be unstable or slippery.
- Keep the pack within reach. Your warm layers, light, first aid kit and water are in it. If you leave the pack on the trail and walk 100 yards (90 m) to a ledge with only the camera, you have separated yourself from everything you may need.
- Never wear headphones while photographing in the backcountry. Your eyes and most of your attention are committed to the frame, which leaves hearing as one of the few senses still free to warn you of an animal, a wave, rockfall or someone calling out.
- Weigh the tripod down in wind, and avoid lunging for it if it goes. A falling tripod is a replaceable camera. Reaching for it at an edge is how the Lamington fall above happened.
Coasts, rivers and waterfalls
Some of the best subjects are at the water’s edge, where the hazard can reach you while you are looking at the screen or through the viewfinder.
On the coast, face the sea. On the Pacific coast in particular, a set of ordinary waves can be followed without warning by one that runs far higher up the beach or over the rocks. The US National Weather Service calls these sneaker waves, and its advice is short: never turn your back on the ocean, and stay off rocks, jetties and logs near the surf. A beach log looks like a solid place to stand; a wave can float and roll one that weighs tons. Wet, dark rock is where waves have recently reached. This applies at Ecola and Oswald West on the Oregon coast, at Olympic‘s beaches and at Pacific Rim, all of which draw photographers in the winter storm season when the waves are largest.
Know the tide before you walk out. A headland or sea stack you reached across dry sand at low tide can be cut off two hours later, and it is easy to lose two hours to good light. Check a tide table for the day, note the time of the next high tide, and set an alarm for when you must start back.
At rivers and waterfalls, the rock nearest the water is the slipperiest, coated with spray and algae, and the pool below a fall is cold enough to stop you swimming within minutes. Our guide to cold water immersion explains why. Shoot from dry rock above the splash zone, and avoid crossing the top of a waterfall for any composition.
Standing still in the cold
The lowest temperature of the day usually comes around sunrise, and in clear, dry air the temperature falls quickly once the sun has set. Those are your working hours, and you spend a great deal of them not moving. Clothing that kept you comfortable on the walk in will not keep you warm an hour later.
- Walk in cool, then add layers at once. Arriving sweaty and then standing still is the fastest way to get cold. Walk in a layer lighter than feels right, and put on an insulated jacket as soon as you stop, before you feel the need. Our guide to layering explains the system.
- Dress for sitting, not hiking. Carry one more warm layer than a hiker would for the same forecast, plus a hat and a windproof shell.
- Insulate from the ground. A small foam sit pad under your feet or knees stops cold rock and snow drawing heat away while you wait.
- Protect your hands. Thin liner gloves that work the camera controls, with warmer mitts over them between shots, keep fingers working. With numb hands you fumble gear and, later, struggle with zips, buckles and the phone.
- Keep batteries warm. Camera and phone batteries lose capacity in the cold. Carry spares in an inside pocket, and keep the phone there too; it may be your map and your way to call for help.
- Notice the early signs. Shivering, clumsy fingers and losing interest in the shoot are the first signs of hypothermia. Alone, you have to catch them yourself. Pack up and walk; moving is the quickest way to warm up.
Wildlife at dawn and dusk
Bears, moose, elk and cougars are most active around dawn and dusk, which is why wildlife photographers are out then and why hiking guidance, including ours, suggests others avoid those hours in bear country. A photographer has two habits that add to the risk: moving quietly, and standing in one place with attention fixed on something else.
- Make noise on the walk, and be quiet at the spot. Talk or call out on the trail in the dark, especially near running water and in thick brush, so that an animal hears you coming. Surprising a bear at close range on the trail is the encounter to avoid.
- Carry bear spray on your body, in a holster on your belt or chest, not in the camera bag. You may be several steps from the bag when you need it.
- Look up from the camera regularly. Every few minutes, look all the way around you. An animal can walk into a meadow behind you while you watch the one in front.
- Use the lens to close the distance. US national parks set minimums of 100 yards (91 m) from bears and wolves and 25 yards (23 m) from other large animals, and Parks Canada’s figures are similar. If an animal changes what it is doing because of you, you are too close.
The full response to each species is in avoiding and handling wildlife encounters.
One more frame: deciding when to leave
Hikers have summit fever. Photographers have the light that keeps getting better. The sky often peaks ten or twenty minutes after the sun is down, and leaving during it is hard to do. You do not have to leave early; you have to decide in advance what staying late requires.
- Set a pack-up time before you start shooting, based on the walk out and the time your contact is expecting to hear from you, and set an alarm for it. An alarm is easier to obey than a feeling.
- If you stay past it, send word first. A message that you will be an hour late costs a minute where there is signal. Where there is none, the pack-up time stands.
- Pack by white light, and count your gear. Lens caps, filters and batteries left on a rock are an annoyance. A headlamp left there is a problem on the walk out.
- Walk out at your normal pace. Hurrying down a dark trail to make a deadline is when tired legs slip. Late and walking is better than on time and injured.
- Allow for the drive. A 3 a.m. start followed by a long drive home is its own risk, and deer are on rural roads at the same hours you are. If you are too tired to make the journey safely, sleep in the car at the trailhead if you need to.
Leaving word when the spot is not planned
Most photographers set out knowing what they hope to shoot and roughly where, not the exact position of the tripod. Many of the best frames are not planned at all: light through a gap in the trees, an animal in a meadow, a reflection in a pool beside the trail. A trip plan that names one precise spot is of little use if you end up somewhere else. A plan that works for a photographer gives searchers the area, and you narrow it as the day goes on.
Before you leave, give your contact what you do know: the trailhead and where you parked; the trail, shoreline or area you will be working, and how far along it you expect to go; any places you already have in mind; and a clock time to call for help that allows for the walk out in the dark. Our Leave Word tool emails that to your contact with the places marked on a map, and puts the deadline in their calendar.
When you leave the trail for a shot you did not plan, take a few seconds first.
- If there is signal, send a message or a dropped pin. “Off the trail to the east at the second bridge” is enough.
- Leave something visible on the trail where you stepped off, such as a trekking pole or a bright stuff sack. Searchers walk the trail first, and the marker also shows you the way back in poor light. Keep the pack with you.
- Stay within earshot of the trail where the shot allows it, so that a whistle can be heard from the path.
Where there is no cell coverage, a satellite messenger such as the Garmin inReach Mini 2 can record your position at set intervals and share it with your contact, so your contact can see where you went even where the plan did not say. A registered personal locator beacon such as the ACR ResQLink sends your position when you activate it. Keep either one in a zipped pocket of the clothing you are wearing, with a whistle. The camera bag is the first thing you put down when you start shooting, and anything inside it is out of reach if you fall away from it.
Then tell your contact when you are out, every time.
Common mistakes
- Seeing the spot for the first time in the dark. An edge, a wet slab and the route back are all hard to judge by headlamp. Scout in daylight, or arrive an hour before sunset.
- Leaving the trail for a shot without leaving a sign. Searchers start on the trail, and nothing shows where you stepped off it. Send a pin if there is signal, and leave a pole or a bright stuff sack on the trail at that point.
- Wearing headphones while you shoot. Your eyes are on the frame, and hearing is what would warn you of an animal, a wave or rockfall. Leave the headphones in the car.
- Setting the call-for-help time at sunset. The best light comes after it and the walk out comes after that, so an early deadline starts a search you do not need. Add the shooting time and the walk out, then a margin.
- Stepping backward while composing. Your eye is on the screen and an edge or obstacle may be behind you. Take your eye off the camera, turn, walk, and compose again.
- Leaving the pack on the trail. An incident at the ledge leaves you without layers, light or first aid. Carry the pack to the spot and set it down within reach.
- Standing on rocks or logs near the surf with your back to the sea. A sneaker wave comes without warning and can roll a log. Shoot from above the wet line and face the water.
- One light, no spare. A dead headlamp after sunset can mean a night out on a walk that takes an hour by day. Carry a second light or spare batteries in a pocket.
- Dressing for the walk, not the wait. An hour standing still at dawn is far colder than the hike in. Pack an insulated jacket, hat and gloves, and put them on as soon as you stop.
- Bear spray in the camera bag. The bag is on the ground several steps away when the animal appears. Wear the spray on your belt or chest.
What to carry
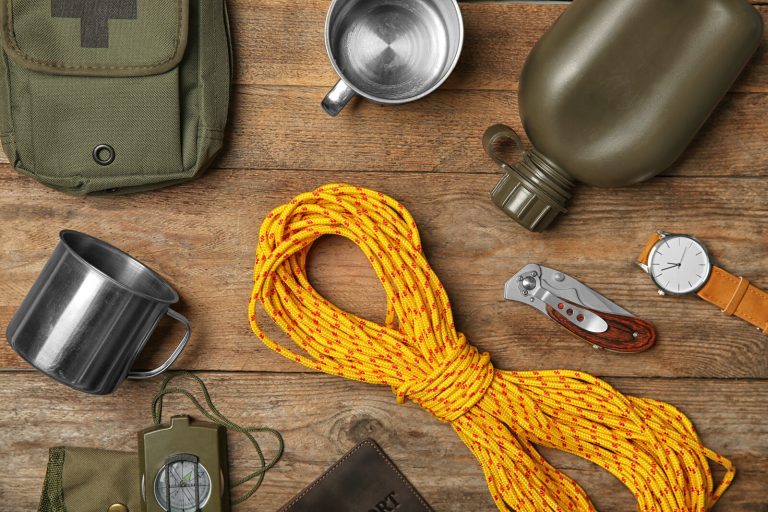
The Ten Essentials in hike all day are the base. On top of the camera gear, a photographer working at dawn or dusk needs:
- A headlamp with a red mode, such as the Black Diamond Spot 400, plus a second light or spare batteries.
- An insulated jacket, hat and windproof shell beyond what the walk needs, and a foam sit pad.
- Liner gloves and warm mitts.
- A charged phone with offline maps and the spot saved, kept in an inside pocket. Your phone as a backcountry GPS covers the setup. Obviously it is always best to carry a paper map and compass, which will serve you when technology fails.
- A satellite messenger or registered PLB where there is no coverage, and a whistle, both on your body.
- Trekking poles for the descent in the dark; the Black Diamond Trail poles are our pick.
- Slip-on traction in spring and fall, when there can be frost and ice at dawn.
- Bear spray in a holster, in bear country.
- A tide table for any coastal shoot.
- A small first aid kit and an emergency bivvy, such as the SOL Emergency Bivvy, so that an unplanned night is uncomfortable and not dangerous.
Key takeaways
The best light comes when the trail is empty and half the trip is in the dark, and photography adds its own risks: attention on the frame, long waits in the cold, and spots that are off the path. Scout in daylight and choose where you will stand for its footing. Time the walk as carefully as you time the light, carry two lights, keep your hands free, and expect the walk out after sunset to be entirely by headlamp.
At the spot, set your feet before you compose, avoid walking backward, stay a body length from any drop, and keep the pack within reach. On the coast, face the sea, stay off rocks and logs near the surf, and know the tide. Dress for standing still, keep batteries and your phone warm, and wear bear spray where you can reach it. Set a pack-up time with an alarm. Never wear headphones while you shoot. Most important, give someone the area you will be working and a time to call for help that allows for the walk out, using Leave Word or a written plan; mark where you leave the trail for a shot you did not plan; and tell them when you are back.
Injury patterns follow Welter and colleagues’ review of search and rescue incidents in Baxter State Park, Maine, from 1992 to 2014 (Wilderness & Environmental Medicine, 2015). Dark adaptation and the use of red light follow the US National Park Service’s night-sky guidance. Sneaker wave guidance follows the US National Weather Service. The four incidents follow the National Park Service’s statement on the Acadia death (June 2016), the West Vancouver Police Department (March 2021), the Curry County Sheriff’s Office (May 2022) and Australian Broadcasting Corporation reporting on the Lamington fall (March 2024). Wildlife viewing distances follow the US National Park Service and Parks Canada. This is general education and not a substitute for training.
Wilderness Experts is reader-supported. As an Amazon Associate we earn from qualifying purchases; when you buy through links on our site we may earn a commission at no extra cost to you. It never changes what we recommend.