
Trekking poles: every use, on the trail and in camp
Most people buy trekking poles to save their knees on the descent, and that alone is worth it. But a pair of poles is one of the most quietly versatile things in a pack: they steady you across a river, pitch your shelter, splint a broken leg, and carry an injured friend. This guide runs through everything a set of poles actually does, on the trail and off it, plus how to size and use them so they help instead of hurt.
Poles are not just for steep mountains or older hikers. Used well they turn walking into a four-limbed activity, spreading load off your legs, adding two points of balance, and doubling as tent poles, splints, and probes when you need them. Here is the full range.
Why carry poles at all
The headline benefit is load. Planting a pole on each step transfers a real share of your weight, and the shock of every footfall, off your knees, hips, and ankles and into your arms and shoulders. On descents, where the impact on your joints is highest, studies and sore-kneed hikers agree the reduction is significant. Poles also add two extra points of contact with the ground, which is balance: they catch a stumble on a root, steady you on a side-slope, and let you move with confidence over ground that would otherwise have you flailing. And on a long day, the steady arm rhythm they set genuinely helps your pace and endurance. The cost is small, a bit of arm effort and a few ounces, for a lot of protection and stability.
On the trail: climbs, descents, balance
The core job, tuned to the terrain:
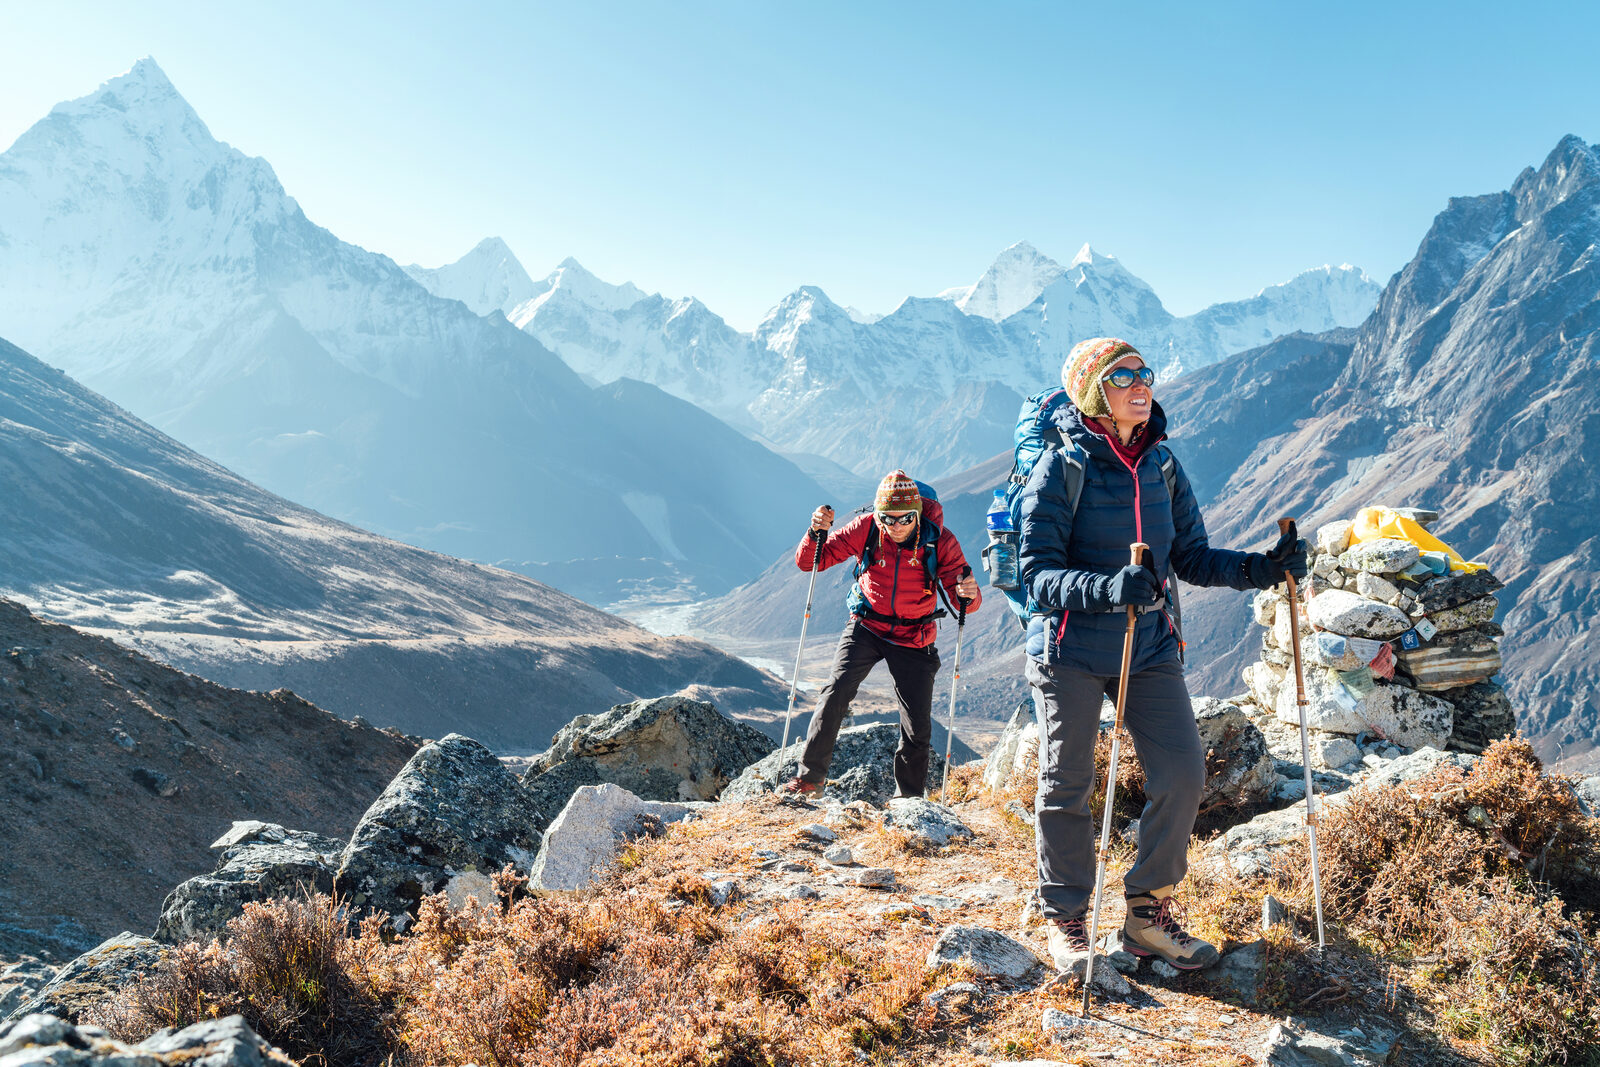
- Uphill power. Shorten the poles slightly and push down and back on each plant to add your arms to the climb. It takes load off your legs and adds propulsion on steep grades.
- Downhill braking. Lengthen them a little and plant ahead of you to catch and control your descent, sparing your knees the pounding. This is where poles pay for themselves.
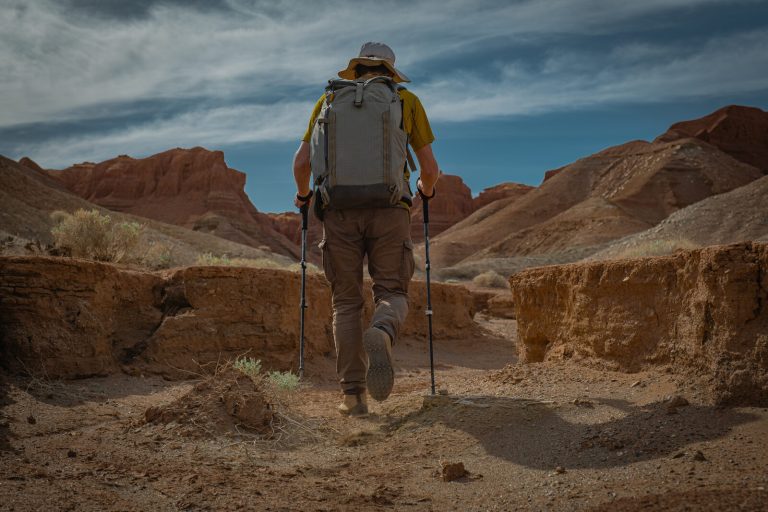
- Balance on bad footing. On scree, talus, roots, and off-camber trail, poles are two extra legs, the difference between a controlled step and a fall. They are a core tool for crossing difficult terrain.
- Rhythm and momentum. On flat, easy miles a light, steady pole cadence keeps you moving and takes the edge off fatigue.
- Clearing the way. A pole pushes aside wet brush, knocks down face-height spiderwebs, and lets you check a dark hole or a bush before you put a hand or foot in it.
Water, snow, mud, and probing
Off the dry trail, poles become safety equipment:
- River and stream crossings. A pole (or both) gives you a third and fourth point of contact against the current, so you always have two solid points while you move the third, the technique at the heart of a safe water crossing. Plant upstream and lean into the flow.
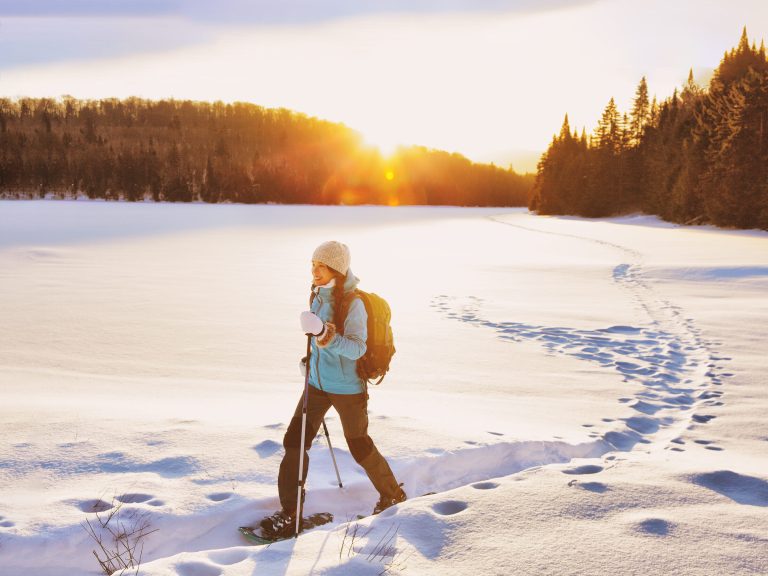
- Snow and mud. Poles steady you on postholing snow, slick mud, and loose sand, and help you test and haul yourself out of a soft spot, useful when the ground gets treacherous, as in bogs and quicksand.
- Probing. Use a pole to check the depth of water, mud, or snow before you commit, to feel for hidden holes and rocks under murky water, and to sound out the edge of a snow cornice or a suspect step.
Not an ice axe
Poles help enormously on firm snow and gentle slopes, but they are not a substitute for an ice axe on steep, hard, or consequential snow and ice. You cannot self-arrest a real slide with a trekking pole. Where a slip could send you sliding, carry (and know how to use) an ice axe. And in steep or avalanche terrain, take your hands out of the pole straps so a fall or a slide cannot trap your wrists.
In camp: tents, tarps, and chores
This is where poles earn their keep twice. A huge share of ultralight and backpacking shelters are designed to pitch on your trekking poles instead of dedicated tent poles. You are already carrying them, so the shelter carries nothing extra:
- Trekking-pole tents and tarps. Most ultralight shelters use one or two poles as their structure; a pole becomes the ridgepole or the peak. It is the same principle as rigging any tarp or emergency shelter . A pole gives you an instant, height-adjustable support where no tree stands.
- Ridgelines and awnings. Prop a tarp door open into an awning, lift a sagging ridgeline, or make a freestanding entry. The adjustable length is the point.
- Camp chores. A planted pole is a clothesline post, a gear-drying rack, a pot-hook stand over the fire, or a handrail for a slick campsite.
First aid and emergencies
When something goes wrong far from help, poles become rescue gear:
- Splints. A rigid pole is a ready-made splint for a broken or badly sprained leg or arm, padded and lashed, it immobilizes the limb for evacuation, exactly as covered in how to splint a sprain or fracture.
- An improvised stretcher. Two poles threaded through the sleeves of a couple of jackets, or lashed into a frame, make a litter to move an injured person a short distance.
- Signaling. A pole raises a bright jacket or a flag to make you bigger and more visible to searchers or aircraft, a simple aid to signaling for rescue.
- Keeping distance. As a last resort, a pole puts space between you and an aggressive animal, letting you look large and back away.
Sizing, straps, and technique
Poles only help if they fit and you use them right:
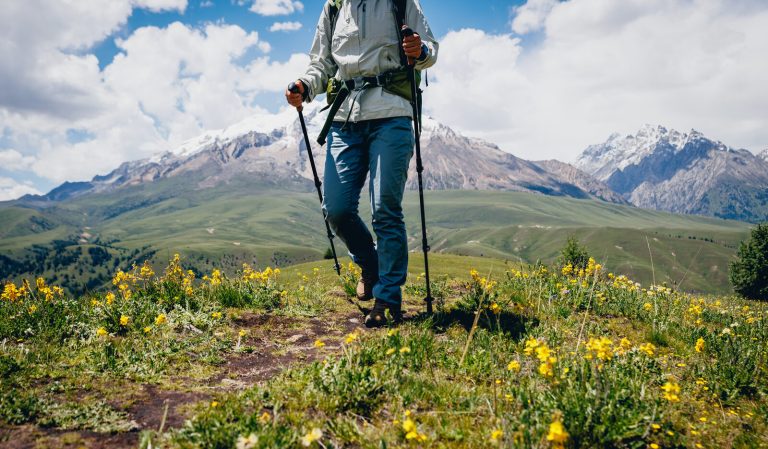
- Set the length. On flat ground, adjust the pole so your elbow sits at about 90 degrees when the tip is on the ground. Shorten a few centimeters for climbs, lengthen a few for descents.
- Use the straps correctly. Bring your hand up through the loop from below, then down onto the grip, so the strap cradles your wrist and takes the load. You push against the strap, not by clenching the grip. (But slip your hands out of the straps for river crossings and steep, slide-prone terrain.)
- Plant and push. Keep the plant close and slightly angled, and let a relaxed swing set the rhythm; a light grip saves your hands over the miles.
- Match tips and baskets to the ground. Carbide tips bite rock and ice; rubber tip covers grip pavement and slabs and protect the tips; snow baskets keep poles from sinking in powder, and mud baskets do the same in soft ground.
- Stow them when you scramble. On technical ground that demands both hands, collapse the poles and lash them to the attachment straps on your pack. A properly loaded pack keeps them flush against the back panel so they don’t shift your centre of gravity while you climb.
Care and choosing a pair
Poles need almost no maintenance, but a little helps. After wet or gritty trips, loosen the locks, pull the sections apart, wipe them down, and let them dry fully before storing collapsed. Trapped moisture and grit are what make locks slip and interiors corrode. Do not over-tighten adjustable locks; snug is enough, and check them before each trip.
When choosing, the trade-offs are material (aluminum bends but rarely snaps and costs less; carbon is lighter but can shatter on a hard side-load), lock type (lever/FlickLock is the easy, reliable standard), and packed size (folding Z-poles pack smallest for travel and running). Our reviewed picks span the range: the value Cascade Mountain Tech aluminum pair for a first set, the buy-once Black Diamond Trail for regular hikers, and the ultralight folding Black Diamond Distance Carbon FLZ for fastpackers and thru-hikers.
Key takeaways
Trekking poles do far more than help you walk. They take a real load off your knees on descents, add two points of balance on bad ground, and make river crossings safer, and in camp and emergencies they become tent poles, tarp supports, splints, a stretcher, and a signal. Size them to a 90-degree elbow, use the straps properly (and drop them on crossings and steep snow), match tips to the terrain, and remember they are not an ice axe where a slide is possible. Ready to pick a pair? Compare our reviewed Cascade Mountain Tech, Black Diamond Trail, and Black Diamond Distance Carbon FLZ.
Drawn from established hiking and mountaineering practice, including trail technique, ultralight shelter design, and the improvised-splint and litter methods in the U.S. Army Survival Field Manual (FM 3-05.70 / FM 21-76).
Wilderness Experts is reader-supported. As an Amazon Associate we earn from qualifying purchases; when you buy through links on our site we may earn a commission at no extra cost to you. It never changes what we recommend.