
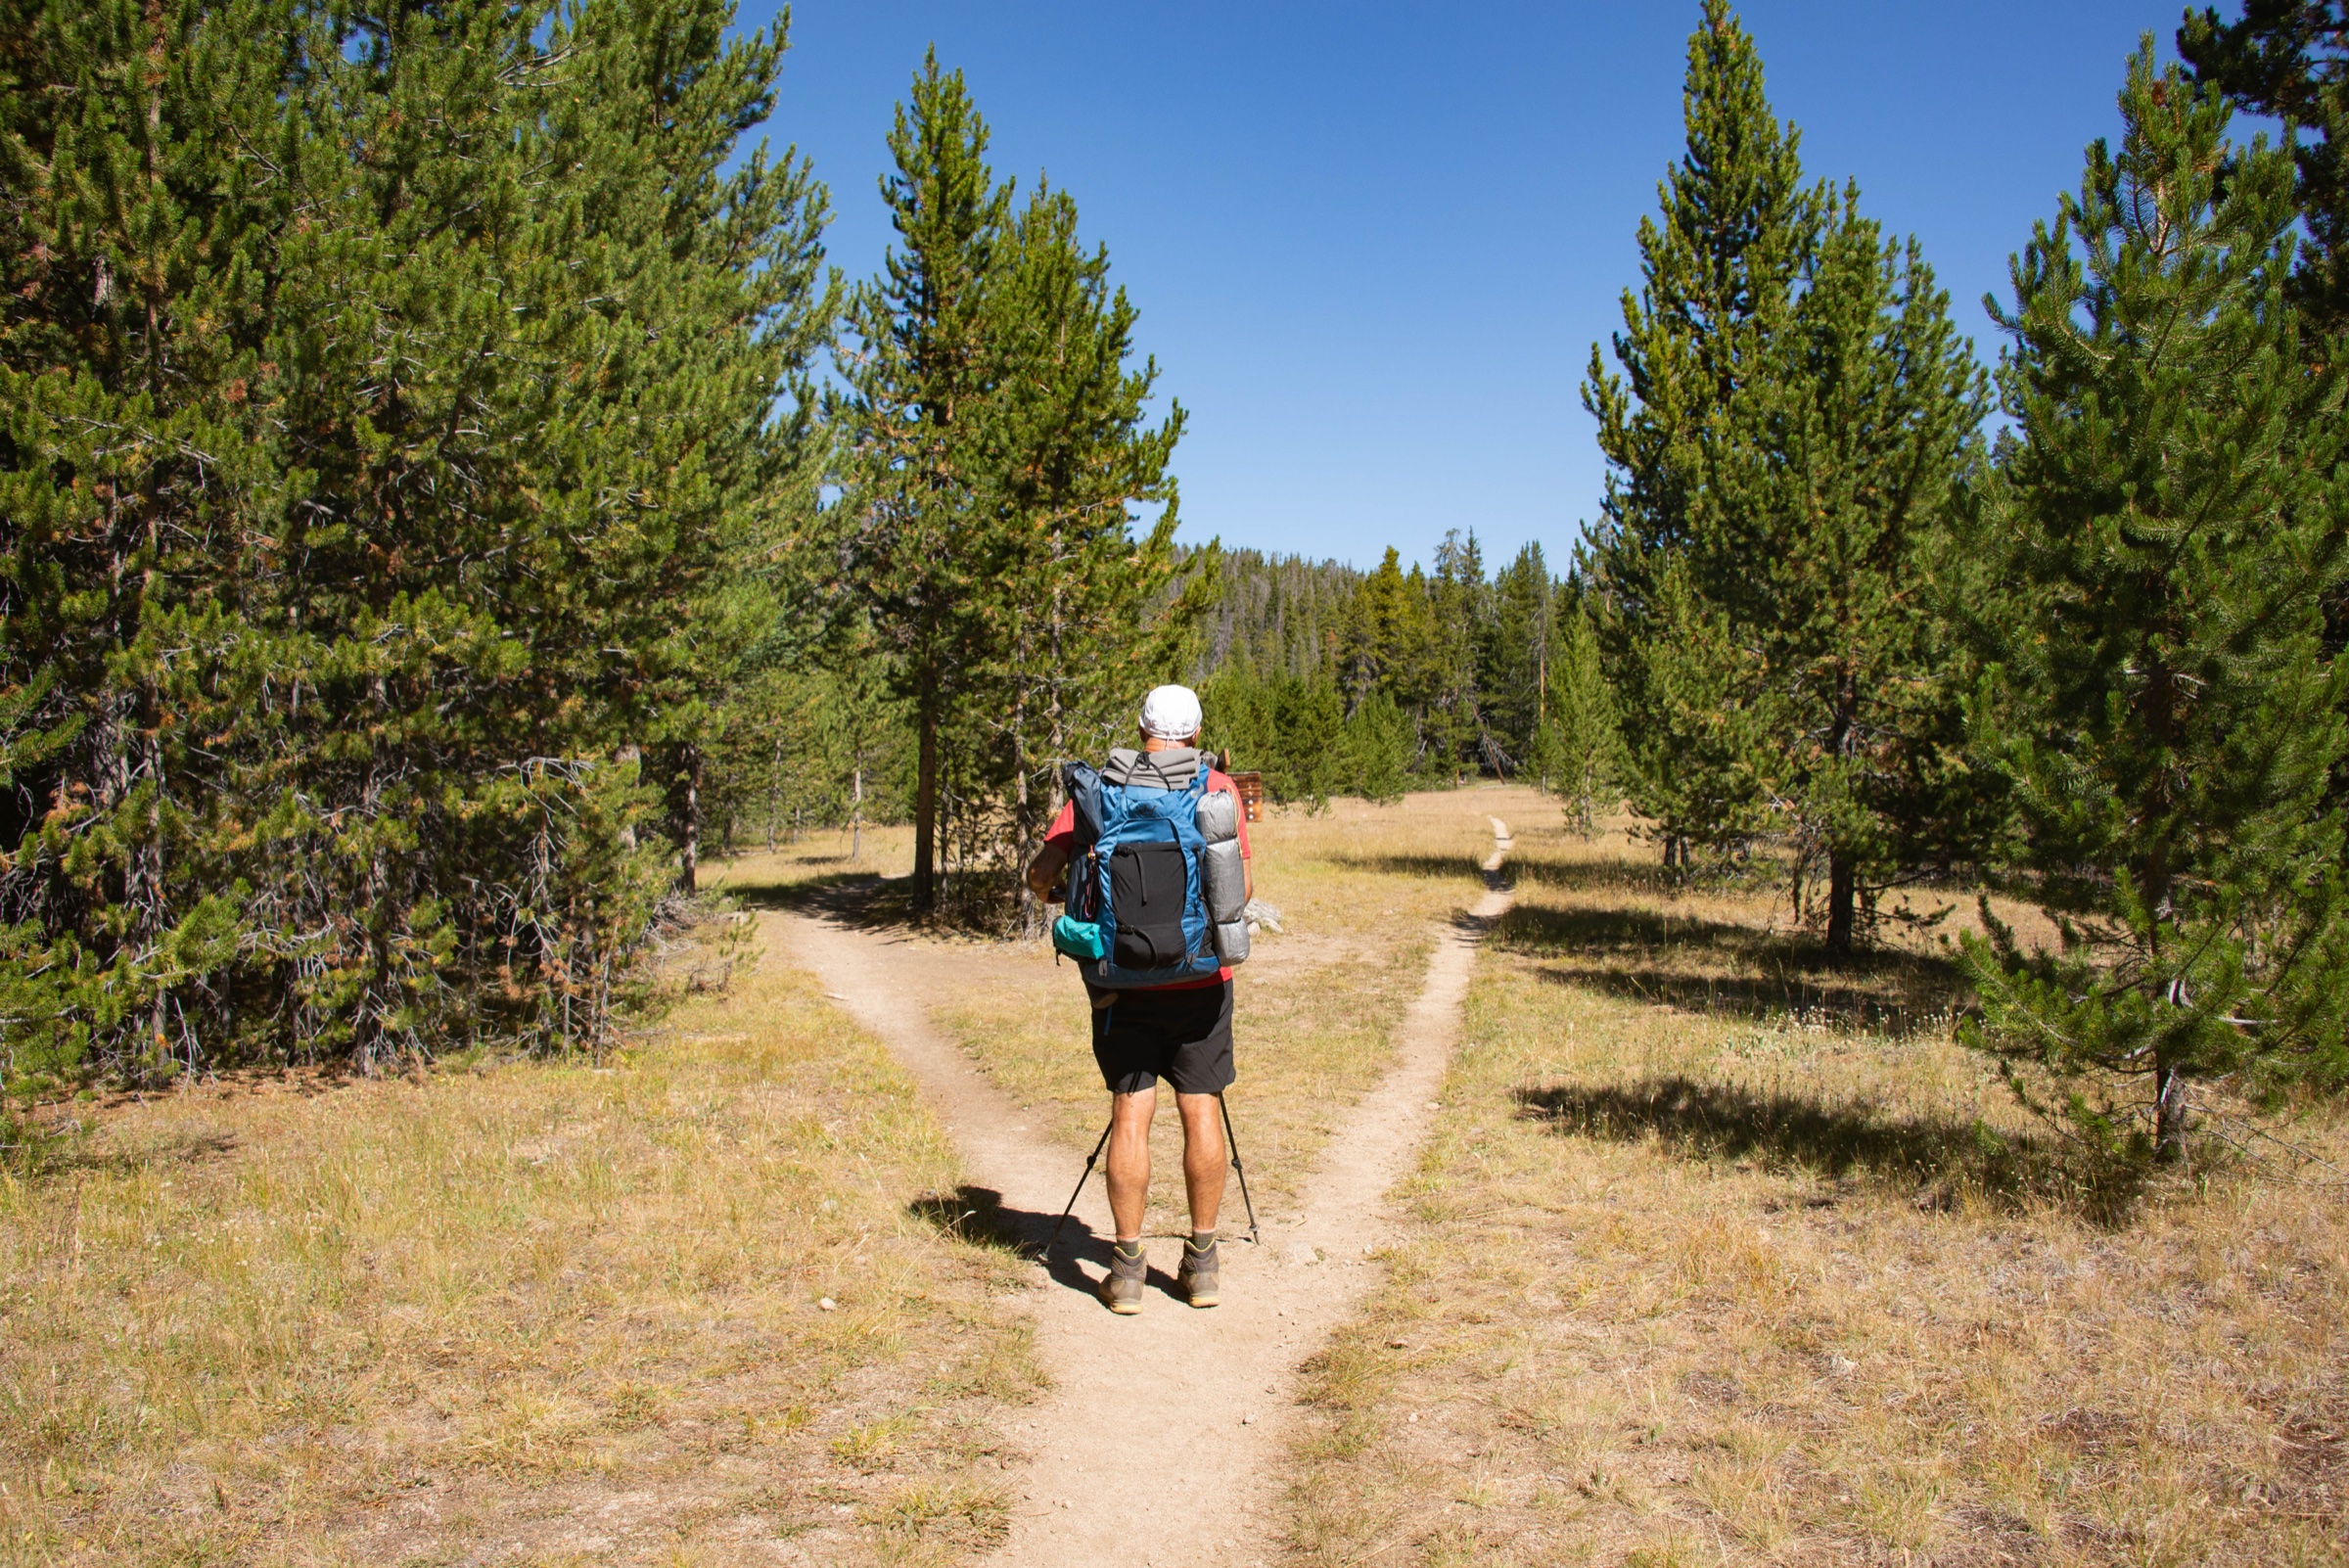
Hiking alone: how to stay safe when nobody is with you
Hiking alone is one of the best ways to be in the backcountry. You set the pace, you stop where you like, and you notice far more than you do in a group. It also changes one thing that matters more than any other: if you fall, get lost or get sick, nobody is standing next to you. Nobody sees it happen, nobody goes for help, and nobody starts to worry until someone off the trail realizes you are late. This guide covers what changes when you hike alone, which trips suit going solo and which do not, how to make sure someone raises the alarm on time, how to carry a way to call for help, the tighter decisions a solo hiker has to make, and what to do if you are hurt or lost with nobody there. The general planning steps every trip needs are in our pre-trip safety plan, the decision to stop and stay put is in lost in the wild, and getting found once you have stopped is in how to signal for rescue. This article is about the solo layer on top of all three.
The rule that matters most
Before every solo hike, someone you trust must know your route and the exact time to call for help if they have not heard from you. Someone else may eventually notice you are missing, but that can take days, and they will not know where to look. The person holding your plan can raise the alarm at a set time and send the search to the right place. Our Leave Word tool automatically sends them your route and puts your call-for-help time in their calendar.
What changes when you are alone
The trail does not get more dangerous when you walk it alone; the same roots, rocks, weather and river crossings are there either way. What changes is what happens after something goes wrong. In a group, a partner does four jobs you rarely think about.
- They notice. A partner sees you stumble, go quiet, start shivering or take the wrong fork. Alone, you have to catch your own early hypothermia, dehydration and bad decisions… and those are exactly the conditions that make you bad at catching them.
- They help directly. They can hold a splint, put up the shelter, carry some of your load or hold pressure on a wound.
- They go for help. If you cannot walk and there is no signal, a partner can hike out. Alone, you are the casualty and the messenger, and you can only be one of them.
- They argue with you. A partner says “it’s getting late” or “that cloud looks bad.” Alone, the only voice in the discussion is often the one that just wants to reach the destination.
The research on searches shows why losing the partner who goes for help matters so much. A study of every search and rescue mission in Oregon over seven years looked at age, sex, weather, the type of incident and how long the search took, and found that search time was the only one of those factors that predicted whether the missing person survived. Nearly every survivor was found within about two days of the search beginning: typically when someone reports you missing. In a group, a partner can raise the alarm the same day. Alone, the report has to come from off the trail: from your contact if you left a plan, or otherwise from whoever notices first, such as family, an employer when you do not turn up for work, or a ranger who sees your car still at the trailhead. That can take days, and without a communicated plan, they may not know where you went.
The injury that usually starts a solo emergency is also not dramatic. A 22-year review of search and rescue incidents in Baxter State Park in Maine found that slips and falls caused two thirds of injuries, the leg was the most commonly injured part of the body, and where the direction was recorded, 84 percent of incidents happened on the way down rather than the way up. Fatigue alone accounted for about one call in five. For a solo hiker, a rolled ankle three hours from the road on a descent is the realistic emergency. It is a nuisance in a group. Alone, it can mean a night out.
Trips that suit going solo, and trips that do not
The easiest way to reduce solo risk is to choose trips where the challenges above matter least. Ask three questions about any route before you do it alone.
- Will anyone else be there? A popular trail on a summer weekend puts other hikers within earshot most of the day. A remote route in November may not see another person for a week. The quieter the trail, the more your plan has to do the work that passers-by would otherwise do.
- Can you get word out? Know where the route has cell coverage and where it does not, and whether you should be carrying a satellite device. A trail with signal at the summit and the trailhead is a different undertaking from a valley with none anywhere.
- Does the trip depend on a second person? Some hazards are only manageable because someone else is there. Those are the ones to leave for a group.
The trips that do not suit going solo, at least until you have a lot of experience, are the ones where the rescue has to come from a partner in minutes, not from outside in hours:
- Avalanche terrain. A buried person is saved by the companions standing on the slope within minutes, or not at all. Alone, there is nobody to dig. Our avalanche safety guide explains why.
- Big river crossings. Crossing as a group, linked together, is much more stable than crossing alone, and a partner on the bank can reach a swimmer. Alone, a river that is marginal for a group is a no. See how to cross a river safely.
- Slot canyons and technical scrambling. A fall or a trapped limb in a place nobody walks past can go unnoticed for days. In 2003, the canyoneer Aron Ralston spent five days pinned by a boulder in a remote Utah slot canyon. He had told nobody where he was going. Friends reported him missing when he did not turn up for work, and rangers then found his truck at the trailhead, but by then he had freed himself by amputating his own arm. Canyons also carry flash flood risk that a partner cannot help with either.
- Glacier travel. Crevasse rescue needs a rope team. There is no solo version.
- Cold water paddling. A capsize far from shore needs a second boat for an assisted rescue. Our canoe and kayak safety guide explains why being alone shows up so often in paddling deaths.
Everything else is a matter of degree. A well-used trail you know, in settled weather, with signal at both ends, is a very reasonable solo hike. The same trail in shoulder season, after dark or off the marked route asks more of your plan and your kit.
Someone knows, with a deadline
For a group, telling someone your plans is good practice. For a solo hiker, it decides how soon a search starts and where it looks. Everything in the trip plan described in our pre-trip safety guide applies, and three parts of it carry more weight when you are alone.
- An exact time to call. Not “if I’m not back tonight” but “if you have not heard from me by 9 p.m. Saturday, call this number.” Put the number of the right agency in the plan, which is usually park dispatch or the local police, not only 911. A vague deadline gets you a worried contact who waits until morning to be sure.
- The route you will actually walk. Name the trailhead, the route, any side trips you might take, and your bail-out options. Searchers start with your plan. If you change your mind at the trailhead, the plan points them to the wrong valley.
- What they would be looking for. Your car and plate, the colour of your jacket, pack and tent, what shelter and food you have, whether you carry a satellite device and its number, and any medical conditions or medications. Alone, you cannot tell rescuers any of this if you are hurt.
Our Leave Word tool is built for exactly this. It emails your plan to a trusted contact, puts an alert in their calendar for the moment you are due back, allows you to plot your route, and has a box for medical conditions and medications that is sent but never saved on our servers to protect your privacy. The calendar alert matters most for a solo hiker, because the deadline is what gets a search started early, and a busy person can forget one they were only told about.
Two more habits help. Sign any trail register at the trailhead, with your route and your return time; it tells searchers you went in and when. And tell your contact when you are out, every time, even when you are only an hour late. A contact who has been told “I’m fine, just slow” twice without a call learns to wait, and waiting is the one thing you need them never to do after the deadline. Our Leave Word tool also allows you to check back in safe, which automatically sends your contact a “stand down” email.
Carrying a way to call for help
A trip plan starts a search when you are late. A device lets you start the rescue yourself, hours earlier, from where you actually are. On any solo trip beyond reliable cell coverage, carry one of the following, and know which one you have.
- Your phone. Where there is signal, it is the fastest way to reach help, and a text often gets through where a call will not. Carry it in airplane mode to save the battery, keep it warm in the cold, and download offline maps before you leave, as covered in your phone as a backcountry GPS.
- Satellite SOS on your phone. Many recent phones can text emergency services by satellite when there is no cell signal; recent iPhones do this in both the US and Canada. It needs a clear view of the sky, it takes longer than a call, and coverage thins in the far north. Run the demo at home so you know how to aim the phone, and do not treat it as a replacement for a dedicated device on a remote trip.
- A satellite messenger. Two-way texting from anywhere with a view of the sky, plus an SOS that goes to a monitoring centre. You can tell rescuers what is wrong, and you can send routine check-in messages, which turns your trip plan into a live one. It does however, require a subscription. The Garmin inReach Mini 2 is the one we recommend for most solo hikers; the SPOT X is another good option.
- A personal locator beacon (PLB). One push sends a powerful distress signal and your position to the government search and rescue satellite system. It is one-way and needs no subscription. Register it before you use it, with NOAA in the United States or the Canadian Beacon Registry in Canada, which is free and required in both. The ACR ResQLink is our pick.
For solo hiking, a two-way messenger has a real advantage: the ability to say “I’m fine, just slow” before your deadline, or “twisted ankle, can walk slowly, will be two hours late,” prevents a search you do not need, and sets up one you do. A PLB is the better choice if you want the simplest possible device with nothing to renew, and many people carry both on remote trips.
Carry it on your body, not on your pack. This is the solo-specific rule. A pack can be taken off at a viewpoint, left at a junction for a side trip, torn away in a fall or lost in a river when you unbuckle it to cross, and anything clipped to its shoulder straps or kept in its hipbelt pockets goes with it. Keep the device in a zipped pocket of the clothing you are wearing, such as a chest pocket on your shirt or jacket, or in a pouch on your own belt, where you can reach it if you are lying on the ground with one arm pinned. The same goes for your phone and whistle.
Many hikers mount a messenger on a shoulder strap because tracking works best with a clear view of the sky. That is fine while you are walking, as long as you move the device to your pocket before you take the pack off, cross water or leave the pack for a side trip. When you need to send an SOS, take the device out and hold it where it can see the sky.
Then learn the device before you need it. Know how to lift the SOS cover and hold the button, how long it takes to confirm, and what the screen shows when it has worked. Pressing it is the start of a rescue that may take hours or a day. It is not a reason to take a risk you would not otherwise take.
Tighter margins: turnaround rules for one
Solo hikers need more margin, not less, and the easiest place to find it is in the decisions you make before you are tired. Set the rules at home, write them into your plan, and follow them on the trail even when they feel overcautious.
- A hard turnaround time. Work out the time you must start down to reach the car with at least an hour of daylight left, and turn around at that time wherever you are. The summit will still be there.
- A lower bar for weather. Decide in advance the conditions that turn you back: thunder, cloud dropping onto the ridge, rain on a route with a crossing. In a group, one person usually says it first. Alone, you have agreed to say it to yourself.
- A lower bar for how you feel. A headache, cold hands that will not warm, unusual clumsiness, or not wanting to eat are signals to turn around early. Fatigue is behind about one rescue in five in the Baxter review, and a tired solo hiker is also a clumsy one.
- A limit on off-route detours. Every scramble up a side gully and every shortcut across a switchback is terrain nobody in your plan knows about. If you do explore, send a message first, or keep it to places a searcher would think to look.
The hardest part is that each of these decisions will feel overcautious in the moment, and nobody will be there to back you up. That is exactly why the rules have to be set before you start, when you are rested and thinking about the whole trip rather than the next hundred feet of it.
Moving alone: footing, pace and staying on route
Most solo emergencies start with a slip or a wrong turn. Both are easier to prevent than to deal with.
Slow down on the descent. That is where the Baxter falls happened, and it is when you are most tired, most likely to be hurrying for the car and most likely to be caught by darkness. Shorten your step, keep your weight over your feet and plant your poles; our guide to trekking poles explains how they spare your knees and catch a stumble. Wet roots, loose gravel on hardpan and polished rock on a well-used trail are where ankles roll.
Avoid hurrying at all. A solo hiker running late tends to speed up, which is when the fall happens. If you are going to be late, send a message to your contact and walk at your normal pace. Late and walking is much better than on time with a broken wrist.
Check the map at every junction. Groups catch each other’s wrong turns. Alone, stop at every fork, confirm it against your map or phone, and look back so you will recognise the junction from the other direction on the way out. Our guide to map and compass navigation covers the rest.
Mark where you leave the trail. This sounds trivial, yet it is how one of the best-known solo disappearances on the Appalachian Trail began. In 2013, Geraldine Largay, 66, hiking alone after her partner had to leave for a family emergency, stepped off the trail in Maine to relieve herself, could not find her way back, and was lost in thick forest where — as one trail club volunteer put it afterwards — a step or two off the trail results in you not being able to see it. Her texts to her husband never sent due to lack of signal. She survived at least 26 days, and her campsite, less than two miles (3 km) from the trail, was not found for more than two years. When you step off the trail, even briefly, drop your pack or a pole on the trail as a marker, note where the trail is, and stay within sight of it.
If you are hurt and alone
Being injured alone is where the plan, the device, and your own composure all come together. Work through it in order.
- Stop and assess. Take a minute before you try to move. Check for bleeding first and deal with it; our guide to backcountry first aid sets out the order. Then work out what is hurt and how badly.
- Test whether you can walk out. Can you put weight on the leg? Can you manage the terrain between you and the car, at the pace you now have, before dark? Be honest: an ankle that holds for ten minutes may not hold for three hours of descent. A splint or strapping and a pair of poles can turn a hobble into a walk.
- Get word out early. If you can reach your contact, tell them what happened, where you are and what you are going to do. If you have a satellite device and there is any doubt about getting out, use it now, in daylight, while you can still think clearly. A rescue that turns out to be unnecessary is far better than one called at midnight when you are colder and in worse shape.
- Get warm before you get cold. Put on your layers, get off the ground onto your pack or a pad, and get out of the wind. An injured person who is not moving cools quickly, even on a mild evening. Our guide to building an emergency shelter covers what to do with what you have.
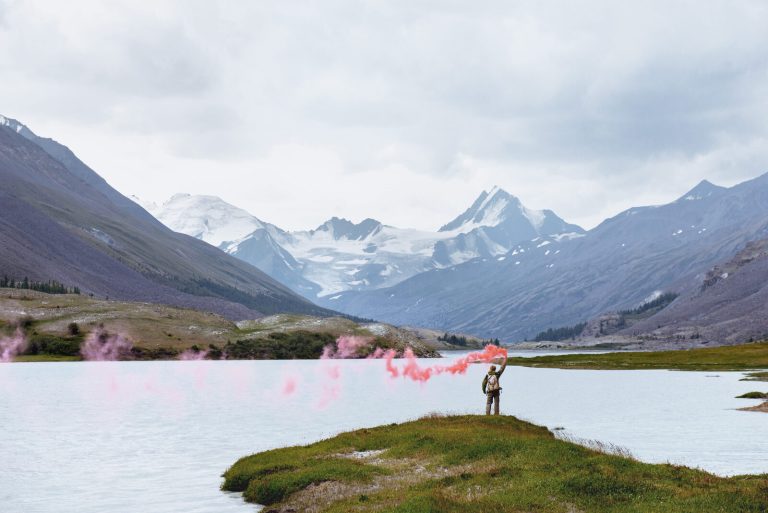
- Make yourself findable. Stay on or close to the trail if you can, where searchers will walk first. Put bright clothing or gear where it can be seen from the trail and the air, keep your whistle around your neck, and blow three blasts at intervals, especially when you hear voices or engines. See how to signal for rescue.
- Save your phone. Once you have sent what you need to send, switch to airplane mode or turn it off, and check it at set times. A phone with no charge at the moment a helicopter is looking for you is no use.
Do not keep walking on an injury to avoid a rescue
The instinct to spare everyone the trouble is strong, and it is how a sprain becomes a fall on the descent. If walking out means risking a second injury, stop, get warm and call for help while there is daylight.
If you are lost and alone
Everything in lost in the wild applies: stop, think, observe and plan before you move another step. Two points carry extra weight when you are alone.
Staying put works because someone is coming. If you left a plan with a deadline, a search will start, and it will start on your route. That is why moving around is usually the wrong call. If you did not leave a plan, a search may still come once someone misses you, but it will come later and with far less idea where to look. The calculation changes, and you may have to walk out, which is covered in the lost article.
Be as visible as you can. Thick forest can hide a person and a tent from a searcher only a few steps away. Set up in the most open spot you can find near where you stopped, put anything bright where it can be seen, keep a fire going if it is safe, and use the whistle at regular intervals. Three blasts carries much farther than shouting and costs far less energy.
Wildlife when you are on your own
Solo hikers are quieter than groups, and quiet is the main reason people surprise bears at close range. Yellowstone recommends that backcountry hikers travel in groups of three or more, and in parts of Banff‘s Moraine Lake area, Parks Canada has at times required groups of four in bear season. Larger parties have been shown to reduce the risk of attack.
Alone, you make up for it with noise and preparation:
- Call out or talk loudly around blind corners, in thick brush, near running water and when walking into the wind, where a bear cannot hear or smell you coming.
- Carry bear spray in a holster on your hipbelt or chest, where you can draw it with one hand.
- Avoid dawn, dusk and trails with signs of recent bear activity, and respect any closures or group-size rules.
- In cougar country, keep children and dogs close and do not run from an animal you see. The full response for each species is in avoiding and handling wildlife encounters.
Headphones are worth a word here. Music or a podcast on a quiet trail is pleasant, and it also takes away the sense that warns you about a bear, a rockfall or someone calling for you. If you listen to anything, use one earbud at low volume, or none in bear country.
Other people and personal safety
Violent crime against hikers in the backcountry is rare, and falls, getting lost, cold and water are far more likely to hurt you. That said, a few simple habits reduce the small risk from other people, and they cost nothing.
- Do not advertise that you are alone. You do not owe a stranger your plans. “My friends are just behind me” or “I’m meeting people at the lake” is a perfectly good answer.
- Post your trip afterwards, not during. A live location on social media tells everyone where you are and that your car is empty. Share your live location only with your contact.
- Trust the feeling. If someone on the trail or in the parking lot makes you uneasy, you do not need a reason to act on it. Turn around, change your campsite, or wait near other hikers.
- Lock up the car. Trailhead break-ins are a far more common problem than trouble on the trail. Leave nothing visible. If you leave a note of your route in the car for searchers, put it in the glovebox rather than on the dashboard, where it tells a thief how long you will be gone.
- Camp away from roads. When sleeping out alone, a site a short walk from any vehicle access sees far fewer visitors than one beside a road or parking area.
These apply to everyone. Women hiking alone often hear more warnings than anyone else, and the realistic risks are the same ones every solo hiker faces: the fall on the descent, the wrong turn and the weather.
The mental side of hiking alone
Alone, you are the whole decision-making team, and your state of mind is part of the safety plan.
Overconfidence. A trail you have walked ten times is easier to underestimate, and nobody is there to question the shortcut. The turnaround rules above exist to protect you from yourself on good days, not only bad ones.
Fear at night. A first solo night in a tent can be unsettling. Every noise sounds large in the dark, and almost every one of them is a small animal, a branch or the wind. Keep your headlamp, whistle and bear spray within reach, and it helps to know that the fear usually fades after the first night or two.
Panic. If something goes wrong, you have nobody to calm you down. Stop, drink some water, eat something and sit down for five minutes before you decide anything. Most bad decisions in an emergency are made in the first few minutes.
Talking to yourself. Say decisions out loud: “It’s 2 p.m., the turnaround is 2:30, I’m not going to make the top.” It sounds odd but it works. Saying a decision out loud stops you drifting past it.
Building up to solo trips
Nobody needs to start solo with a remote overnight. Build up in steps, so that each one adds only one new thing.
- Solo day hikes on trails you know, on busy days, with signal. Practise the plan: leave word, send a message when you are out, and notice what you would have done differently.
- Solo day hikes on new trails that are still well used, in settled weather. Practise navigation and your turnaround time.
- Quieter trails and longer days, with a satellite device, in the season you know best.
- A first solo overnight close to the trailhead, on a route you have already day-hiked, so that the only new thing is the night.
- Longer and more remote trips, once you are comfortable with every step above.
A wilderness first aid course is the best single investment a solo hiker can make. It teaches you to assess and treat yourself as well as others, and to decide calmly between walking out and calling for help. Until then, our first aid guide is a good place to start.
Common mistakes
- A vague return time. “Back tonight” leaves your contact to decide when to worry, and most people wait until morning. Give them a clock time and a phone number, and tell them to call at that time, not later.
- Changing the route without telling anyone. A better-looking trail at the trailhead sends the search to the wrong place. If you change the plan, send the new one before you lose signal, or stick to the original.
- Carrying the device on the pack. Inside the pack, clipped to a shoulder strap or in a hipbelt pocket, it goes wherever the pack goes: dropped at a viewpoint, thrown clear in a fall or swept away in a river, with the SOS button out of reach. Keep the messenger or PLB in a zipped pocket of the clothing you are wearing, with the whistle around your neck.
- Relying on a phone with no signal. Texts that never send are the story of many solo searches. Know where your route has coverage, and carry a satellite messenger or PLB where it does not.
- Stepping off the trail and losing it. A few steps into thick forest can hide the trail completely. Leave your pack or a pole on the trail as a marker and keep the trail in sight.
- Hurrying on the descent to make the deadline. Rushing is when tired legs slip. Send a message that you will be late, and walk down at your normal pace.
- Pushing past the turnaround time. The summit looks close and nobody is there to say no. Set the time at home, write it in your plan, and turn around at that time, wherever you are.
- Waiting too long to call for help when injured. Solo hikers try to spare everyone the trouble and then call after dark, cold and in worse shape. If there is real doubt about walking out, press SOS in daylight.
- Not telling your contact when you are out. A contact who is never told learns that lateness means nothing. Send “I’m out” every time, even when you are early.
What to carry
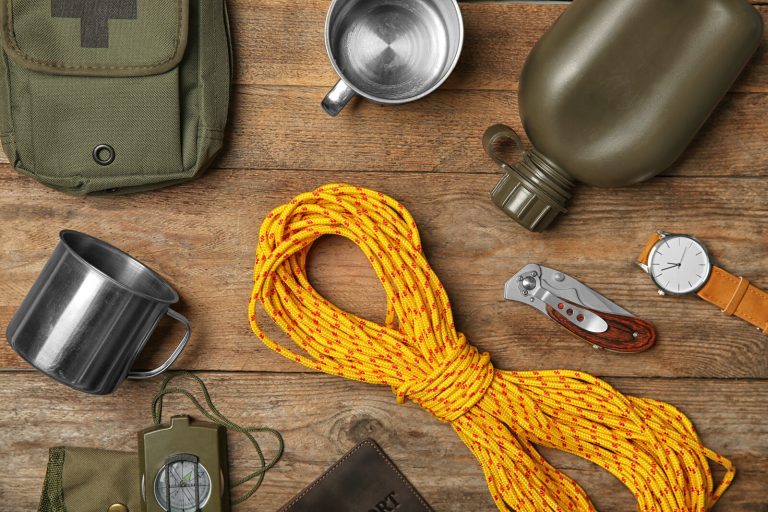
The Ten Essentials described in hike all day are the base. On top of them, a solo hiker needs:
- A way to call for help without signal: a satellite messenger such as the Garmin inReach Mini 2 or a registered PLB such as the ACR ResQLink, carried in a zipped pocket of your clothing rather than on the pack.
- A charged phone with offline maps, and a small power bank such as the Nitecore NB10000 on longer trips.
- A physical map and compass, and the skill required to use them properly. An unexpected extended stay in the bush can leave you without a charge in your devices.
- A whistle and signal mirror, worn rather than packed. Our whistle and signal mirror review covers a good pair.
- An emergency shelter you can use with one working arm, such as the SOL Emergency Bivvy, so that a night out is uncomfortable rather than dangerous.
- A first aid kit you can use on yourself, with strapping tape and something to splint an ankle or wrist. The Adventure Medical Ultralight/Watertight kit is a good day-hike base.
- A headlamp in case the day runs long, such as the Black Diamond Spot 400.
- Trekking poles for the descent, and as crutches if you are hurt. The Black Diamond Trail poles are our pick.
- Bear spray in a holster, where you hike in bear country.
- An extra warm layer beyond what you expect to need, because a solo hiker who is hurt is a solo hiker who is not moving. See what to wear in the bush.
Key takeaways
Hiking alone does not make the trail more dangerous. It removes the partner who would notice a problem, help you, go for help and argue you out of a bad decision, and it means the alarm has to be raised by someone off the trail, which can take days if nobody knows your plans. In one large study of searches, time was the only factor that predicted survival, so the most important thing a solo hiker does happens before the hike: leave your route and an exact time to call for help with someone reliable, using Leave Word or a written plan, and tell them every time you are out.
Choose solo trips where a partner is not the rescue plan, and leave avalanche terrain, big river crossings, slot canyons, glaciers and cold water paddling for a group. Carry a satellite messenger or a registered PLB in a pocket of the clothing you are wearing, not on your pack, and know how to use it. Set a turnaround time and weather rules at home, and follow them. Slow down on the descent, check the map at every junction and keep the trail in sight when you step off it. If you are hurt, assess, get word out in daylight, get warm and make yourself easy to find. Build up to solo trips one step at a time, and take a wilderness first aid course when you can.
Search survival figures follow Adams and colleagues’ study of seven years of Oregon search and rescue missions (Wilderness & Environmental Medicine, 2007). Injury patterns follow Welter and colleagues’ review of search and rescue incidents in Baxter State Park, Maine, from 1992 to 2014 (Wilderness & Environmental Medicine, 2015). Details of the Largay case follow the Maine Warden Service’s released investigation records. Group-size guidance follows Yellowstone National Park and Parks Canada. Satellite SOS availability follows Apple’s published support information; beacon registration follows NOAA and the Canadian Beacon Registry. This is general education and not a substitute for training.
Wilderness Experts is reader-supported. As an Amazon Associate we earn from qualifying purchases; when you buy through links on our site we may earn a commission at no extra cost to you. It never changes what we recommend.