
What food to bring: fueling day hikes, camping, and emergencies
Good trail food is the fuel that keeps your legs moving, your head clear, and your mood intact when the weather turns. Bring too little and you bonk on the climb out; bring the wrong things and you haul dead weight, spoil food, or dread every meal. This guide covers what to pack for the whole range of trips: a half-day hike, a car-camping weekend, a multi-day backpack, and the emergency rations you keep in your pack for the day that doesn’t go to plan.
The underlying principle is simple: you are packing calories per ounce and calories per dollar against how you plan to cook and how long you’ll be out. On a short outing, convenience and enjoyment win, and weight barely matters. The longer and more remote the trip, the more every gram counts, so you shift toward dense, shelf-stable, low-water foods and a way to add hot water in camp. Layered under all of it is a safety reserve of no-cook food that needs no fire and no planning, because hunger is uncomfortable but a missed turn or a sprained ankle is what emergency rations are really for. This pairs with our guides to fuelling on the trail, keeping animals out of your food, and finding wild food if you truly run out.
How much food to bring
Think in calories, not meals. A relaxed day outdoors burns roughly 2,500 to 3,000 calories; a hard day carrying a pack over big climbs can run 4,000 to 5,000 or more. A common backpacking rule of thumb is to plan for 1.5 to 2.5 pounds (700 g to 1.1 kg) of food per person per day, which works out to about 2,500 to 4,500 calories depending on how calorie-dense your choices are. Aim for roughly 100 to 125 calories per ounce and you can carry a full day’s fuel in well under two pounds (900 g); fall to 60 calories per ounce with heavy, watery food and you carry more weight for less energy.
Match the amount to the effort and the person. Cold weather, altitude, big mileage, and larger or hard-working bodies all push the number up, so plan by the day and the individual rather than a single flat figure. For any trip longer than a few hours, add a small buffer of extra calories beyond your planned meals, both for the surprise of harder terrain and as the start of your safety reserve.
A quick calorie target
For a full active day, aim for about 2,500 to 4,000 calories at 100+ calories per ounce. That keeps a day’s food under two pounds (900 g) and leaves room for a little extra. Weigh your food bag at home once and you’ll calibrate your eye for good.
What makes food good trail food
Beyond calories, the best trail foods share a few traits. They are calorie-dense so you carry energy, not water and packaging. They are shelf-stable at the temperatures you’ll see, needing no refrigeration for the length of the trip. They are quick and easy to eat or prepare, because a meal you dread is a meal you skip. They pack and travel well without crushing, melting, or leaking. And they are food you actually like, since appetite fades with effort and altitude, and the surest way to under-fuel is to bring things you won’t want to eat.
Balance the macros across the day. Carbohydrates give you fast, usable energy for moving, fats pack the most calories per ounce and burn slow for the long haul and cold nights, and protein helps your muscles recover overnight. A practical pattern is carbs while you move (bars, dried fruit, chews), fat and protein at rest (nuts, cheese, jerky, a hot dinner). Salt matters too: on hot, sweaty days you lose sodium and need to replace it, so lean into salty snacks and see our guide to electrolytes in the heat.
Day hikes and half-day trips
On a short outing, weight and spoilage barely matter, so eat well and keep it simple with no stove required. Pack a proper lunch plus grazing food you nibble as you go, since steady small snacks hold your energy better than one big stop. Good picks: a sandwich or wrap, a bagel with nut butter or cheese, trail mix, a couple of energy or granola bars, fresh fruit, jerky, and a few salty crackers or chips. Bring a little more than you think you’ll eat, and always carry a small no-cook snack in reserve in case you’re out longer than planned.
A sharp folding knife like the Opinel No.8 makes short work of cheese, sausage, and fruit at a trailside lunch. Pack out every wrapper and core, and keep snacks reachable in a hip-belt pocket so you actually eat on schedule instead of waiting until you’re empty. Our guide to hiking all day covers pacing and steady fuelling in more depth.
Car camping and short overnights
When you can drive to camp or carry a cooler a short way, the rules relax and you can eat almost as well as at home. A cooler with ice opens up fresh and perishable food for the first day or two: eggs, meat to grill, vegetables, cheese, milk, and cold drinks. Plan meals that cook in one pot or over a fire to keep cleanup simple, and pre-chop and pre-mix at home in labeled bags or containers so camp cooking is fast and you carry less trash and bulk.
Front-load the perishables: eat the fresh meat and dairy on the first night and morning, then transition to shelf-stable food as the ice melts. Keep raw meat sealed and separate from ready-to-eat food in the cooler, and use a thermometer or plenty of ice to hold the cold side below 40°F (4°C). Pack a few no-cook backups (bread, peanut butter, canned goods) so a rained-out fire or a dead stove doesn’t cost you dinner. Even at a drive-up site, store food and scented items properly overnight per our guide to keeping animals out of camp.
Mind the cooler
Perishable food left between 40°F (4°C) and 140°F (60°C) for more than two hours (one hour above 90°F / 32°C) is a food-poisoning risk. Keep the cooler cold and shaded, drain and re-ice it, and when in doubt, throw it out. A bout of vomiting and diarrhea far from a bathroom is miserable and dehydrating.
Multi-day backpacking
Once everything rides on your back for days, calorie density and no-refrigeration become the whole game. Where food weight sits in the pack matters too: heavy, dense items belong against the back panel and high in the main compartment so the load stays close and upright — see our guide to fitting and packing your pack for the full zone system. Build your days around lightweight, shelf-stable staples and plan to add only hot water in camp. A reliable framework:
- Breakfast: instant oats, granola with powdered milk, breakfast bars, or instant coffee and a hot drink. Quick and warming so you can break camp and move.
- Lunch and trail snacks: the all-day graze, eaten cold on the move. Trail mix, nuts, nut butter, hard cheese, cured sausage or jerky, energy and granola bars, crackers, dried fruit, chews. This is the bulk of your calories.
- Dinner: the one hot meal, for warmth and morale. Freeze-dried backpacking meals (just add boiling water), or cheaper build-your-owns like instant noodles, couscous, instant rice and beans, or pasta sides, boosted with olive oil, a foil pouch of tuna or chicken, and dried vegetables.
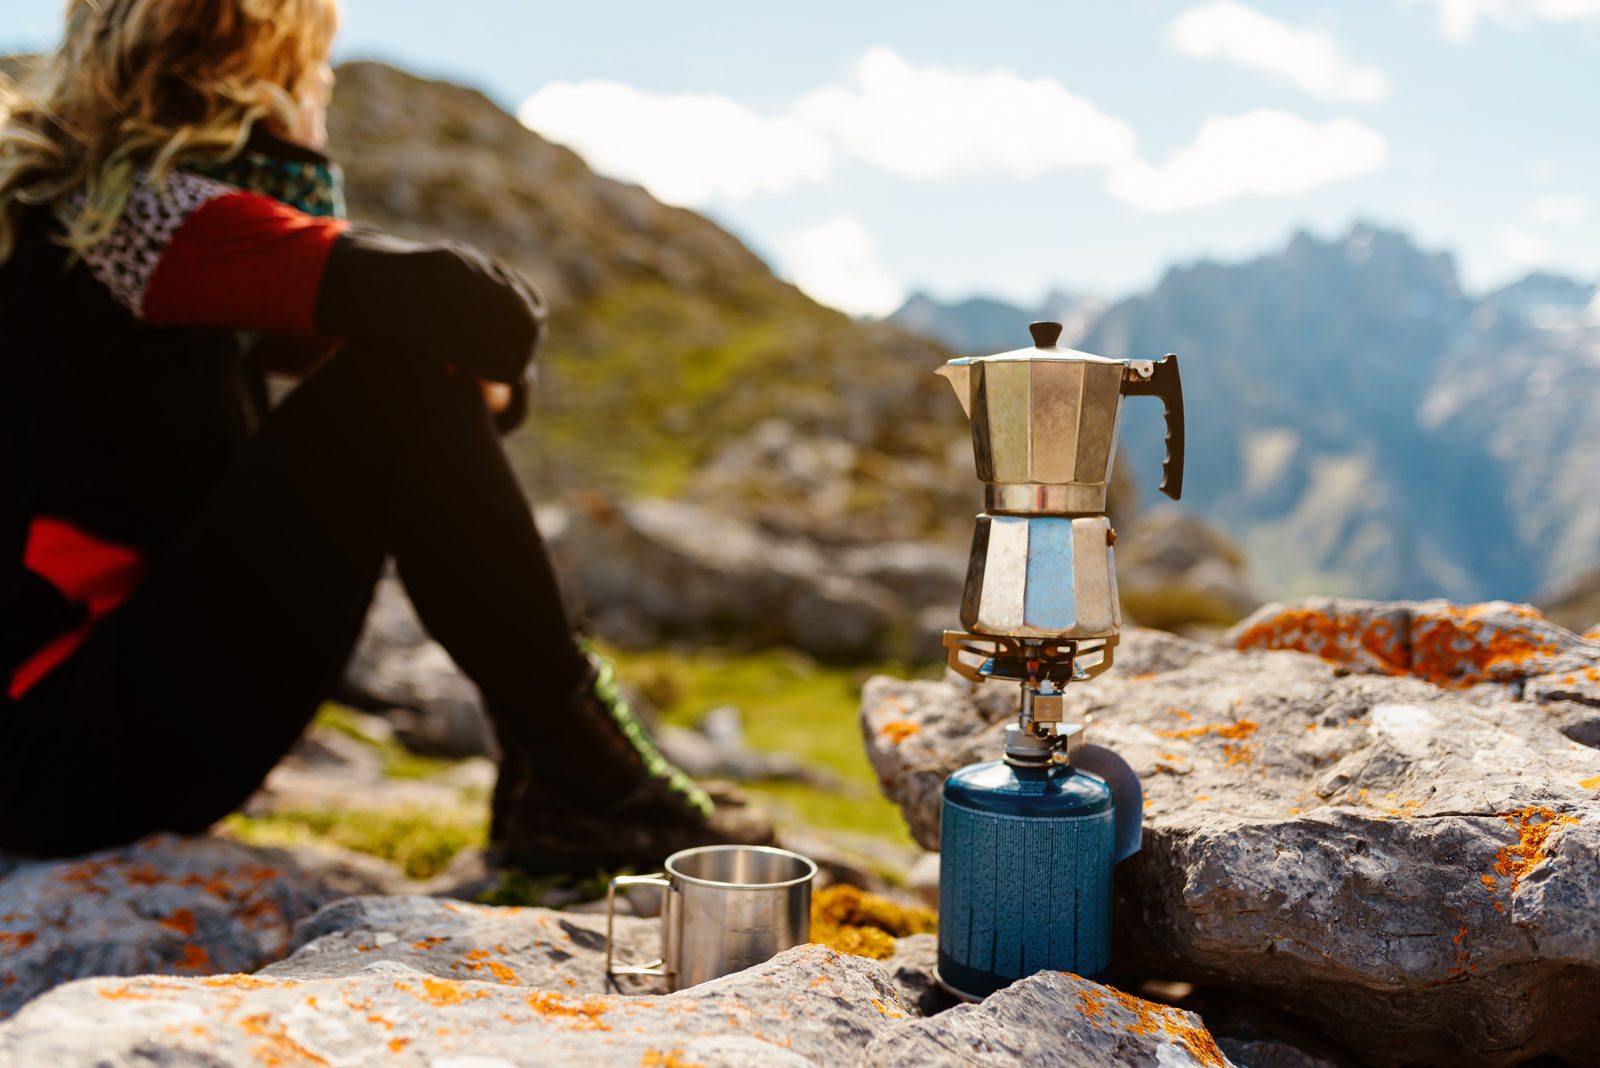
Add fat to push calories up without weight: a small bottle of olive oil, extra nut butter, cheese, and chocolate all pull their weight. Freeze-dried meals are light and effortless but pricey; repackaging grocery staples into labeled zip bags is cheaper and lighter than cans, cuts your trash, and lets you portion exactly. Plan each day’s food into its own bag so you can see at a glance that you have enough, and carry one spare no-cook day of food on any trip more than a night or two. For the hot meal you’ll want a stove and pot: a light canister burner like the MSR PocketRocket 2 or ultralight BRS-3000T for simple boiling, or an integrated system like the Jetboil Flash for fast, fuel-efficient boils, stepping up to the windproof MSR WindBurner for alpine and winter trips. Feeding yourself for weeks or months is a different problem again, and our guide to resupply on a thru-hike covers towns, mail drops, and hiker hunger.
Emergency rations
Emergency rations are the food you hope never to eat: a small, sealed reserve that lives in your pack and comes home untouched most of the time. Their job is to carry you through an unplanned night out, a wrong turn, a weather pinning, or an injury that slows your exit. The rules are different from regular meals. Emergency food must need no cooking, no water, and no preparation, because in a real emergency you may have none of those. It must be genuinely shelf-stable across seasons so you can leave it in the pack for months, and it must be calorie-dense so it earns its place in weight.
Good choices are energy-dense bars, nut butter packets, hard candy and chocolate, jerky, trail mix, and purpose-made emergency ration blocks like the 2,400- and 3,600-calorie Coast Guard-approved bricks (Datrex, SOS, Mainstay). Those ration bars are vacuum-sealed, survive heat and cold, have a five-year shelf life, and pack a lot of calories into a small block, which makes them close to a fit-and-forget reserve. Size the reserve to the trip: for a day hike, a few hundred spare calories that could get you through an unexpected night; for a multi-day trip, one extra day of no-cook food beyond your planned meals. Check and rotate it a couple of times a year so nothing is stale or expired when you need it, and keep it with the rest of your ten-essentials backup gear, as covered in our guide to building a survival kit you’ll actually carry.
Rations buy time, not comfort
Emergency rations are about maintaining function and morale for a limited stretch, not eating well. The human body can go a surprisingly long time without food, so in a genuine survival situation, water, warmth, and being found come first. A day or two of no-cook calories is usually all the reserve a weekend trip needs. If you’re truly stranded and out of food, see our guide to finding wild food, and prioritize water and shelter over hunting for a meal.
Water, cooking, and rehydrating
Food and water are linked in the backcountry. Dehydrated and freeze-dried meals need clean water added, so factor that water into your planning and treat what you gather with a filter like the Sawyer Squeeze or backup tablets, per our guide to purifying backcountry water. Carry a sturdy bottle such as the Nalgene wide-mouth, and remember that digesting food and rehydrating meals both cost water, so if water is scarce, favor foods that need little or none and prioritize drinking.
Keep cooking simple and safe. Most backcountry menus only need to boil water, so a small stove and a single pot handle almost everything. Never run a stove inside a tent or closed shelter because of carbon-monoxide risk and fire, and always cook a safe distance from where you sleep so food smells don’t linger at your bedside. If you cook over a fire, do it responsibly and put it out cold, as covered in our guide to building and extinguishing a fire.
Kids, dietary needs, and cold weather
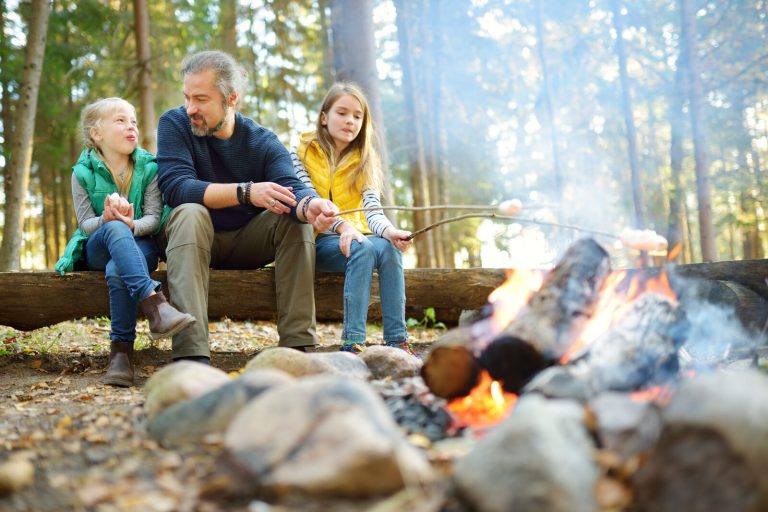
Tailor the menu to who’s coming. With kids, bring familiar favorites and plenty of easy snacks, since a well-fed child is a happy hiker and camp treats like s’mores are half the point; pack a little extra for bottomless young appetites. For allergies, or vegetarian, vegan, and gluten-free diets, plan and repackage at home so you’re not stuck reading labels in the dark, and label bags clearly when the group has mixed needs. In cold weather, eat more and eat fattier: your body burns extra fuel to stay warm, a hot meal and hot drink are morale in a cup, and a snack before bed helps you sleep warm, as we note in staying warm through a cold night. Keep water and soft foods from freezing by stashing them in your jacket or sleeping bag.
Packing, storage, and Leave No Trace
How you pack food matters as much as what you pack. Repackage into zip bags or light containers to cut weight, bulk, and trash, and to keep things from crushing; squeeze the air out and double-bag anything that could leak. Keep the day’s snacks accessible and the rest organized so you’re not digging. Watch for melt and crush: chocolate and cheese soften in heat, chips and crackers pulverize, so pack fragile and heat-sensitive items with care.
Store food to keep wildlife out and to leave no trace. At camp, keep all food and scented items (toiletries, trash, even lip balm) out of your tent and stored properly overnight, whether in a bear canister, an approved hang, or a locker where provided; our guide to protecting your food and camp from animals covers the methods. Pack out every scrap of food waste and packaging, including crumbs, peels, and grease water, because “it’s biodegradable” still trains animals and trashes a site. That habit is one of the seven Leave No Trace principles, and good camp hygiene around food keeps you from getting sick.
Common mistakes
- Bringing too little. Under-fuelling leaves you slow, cold, and foggy. Plan calories by the day and add a buffer.
- Packing heavy, watery food. Cans and fresh food are fine for car camping but sink a backpack. Go dense and shelf-stable when you carry it far.
- Only eating at meals. Appetite fades with effort. Graze steadily on small snacks so you never run empty.
- Bringing food you won’t eat. Novel “efficient” foods you dislike get left uneaten. Test meals at home first.
- No emergency reserve. Every plan can slip. Carry a sealed, no-cook day of calories you don’t touch on a normal trip.
- Sloppy storage. Food in the tent and crumbs left behind draw animals and can end a trip. Store it right and pack out all waste.
What to pack
- Calorie-dense staples at 100+ calories per ounce: bars, nuts, nut butter, trail mix, cheese, jerky, dried fruit, chocolate.
- One hot meal per day (multi-day): freeze-dried meals or build-your-own noodle/rice/couscous dinners, plus olive oil to boost calories.
- A stove and pot for boiling water, such as the MSR PocketRocket 2, Jetboil Flash, or windproof MSR WindBurner, with enough fuel.
- Emergency rations: a sealed no-cook reserve (energy bars or a Coast Guard-approved ration brick) sized to at least one extra day.
- Water treatment to rehydrate meals safely: a filter and backup tablets, plus a bottle.
- A folding knife like the Opinel No.8 for food prep, plus a spork and a light bowl or mug.
- Storage and cleanup: zip bags, a food storage method (canister or hang), and a trash bag to pack out every scrap.
Key takeaways
Pack food to match the trip: eat well and simply on short outings, use the cooler for fresh food when you car camp, and go calorie-dense and shelf-stable with one hot meal a day when everything rides on your back. Target enough calories for the effort at about 100 calories per ounce, graze steadily instead of waiting for meals, and always carry a sealed no-cook reserve for the day that goes sideways. Treat the water your meals need, store everything to keep wildlife out, and pack out every scrap. Get the fuel right and the miles come easier, the nights feel warmer, and a small emergency stays a small emergency.
Adapted in part from the U.S. Army Survival Field Manual (FM 3-05.70 / FM 21-76) on food, energy needs, and ration discipline, combined with modern backpacking and camp-cooking practice and food-safety guidance.
Wilderness Experts is reader-supported. When you buy through links on our site, we may earn an affiliate commission at no extra cost to you. It never changes what we recommend.