
Sharpening and tool care: keeping your backcountry tools working
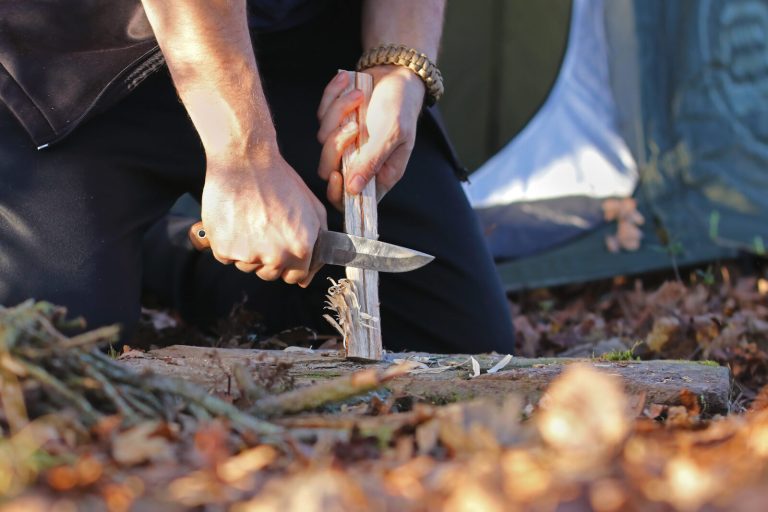
A sharp, clean, well-oiled tool is safer, easier, and lasts for decades; a neglected one is dangerous and disposable. The counterintuitive truth every experienced woodsman knows is that a dull blade hurts more people than a sharp one . It skates instead of biting, so it slips. This guide is the maintenance companion to the rest of the toolkit: how edges actually work, how to sharpen a knife, axe, saw, and multitool, how to keep steel from rusting, and the small kit that keeps everything working in the field.
You do not need a workshop or a drawer of gadgets. A single stone, a strop, a file, and a rag cover almost everything, and the core skill, holding a consistent angle, is learned in an afternoon. Master the handful of ideas below and every cutting tool you own, from your knife to your entrenching tool, will stay ready for work.
Why sharp means safe
It is worth saying plainly, because it drives everything else: a sharp edge is a safe edge. A keen blade bites where you place it and cuts with light, controlled pressure, so it goes where you aim. A dull blade needs force, skates off the surface instead of cutting, and arrives, with all that force behind it. Somewhere you did not intend, often your own hand. The same is true of a dull axe that glances off a knot and a dull saw that jumps its groove.
Maintenance is therefore not fussiness; it is safety, efficiency, and economy. A tool you sharpen before it gets dull, wipe dry before it rusts, and store clean will do its job with less effort and outlast the person who bought it. Neglect turns the same tool into a slipping, rusting hazard you replace every couple of seasons.
Edges and angles, decoded
Sharpening is simply restoring a clean, keen intersection of two bevels. A few terms make it make sense:
- Bevel , the angled face ground down to the edge. The edge angle is measured per side: most outdoor knives run about 20° per side; axes and choppers are steeper (tougher, ~25–30°); fine slicers are shallower (keener, ~15°).
- Burr (wire edge) . The tiny curl of metal that forms on the far side of the edge when you have ground far enough. Feeling a burr form along the whole edge is how you know one side is done.
- Grit . How coarse the abrasive is. Low grit (coarse, ~200–400) reshapes a dull or damaged edge fast; high grit (fine, ~1000+) polishes it sharp. You work coarse-to-fine.
- Honing vs. sharpening vs. stropping. Sharpening removes metal to form a new edge; honing realigns a rolled edge; stropping on leather polishes and straightens it. Most upkeep is honing and stropping, not full sharpening.
- Consistency beats everything. Holding the same angle every stroke matters more than the exact number. A wandering angle rounds the edge instead of sharpening it.
Sharpening tools: stones, strops, and files
You can sharpen anything with a small handful of abrasives:
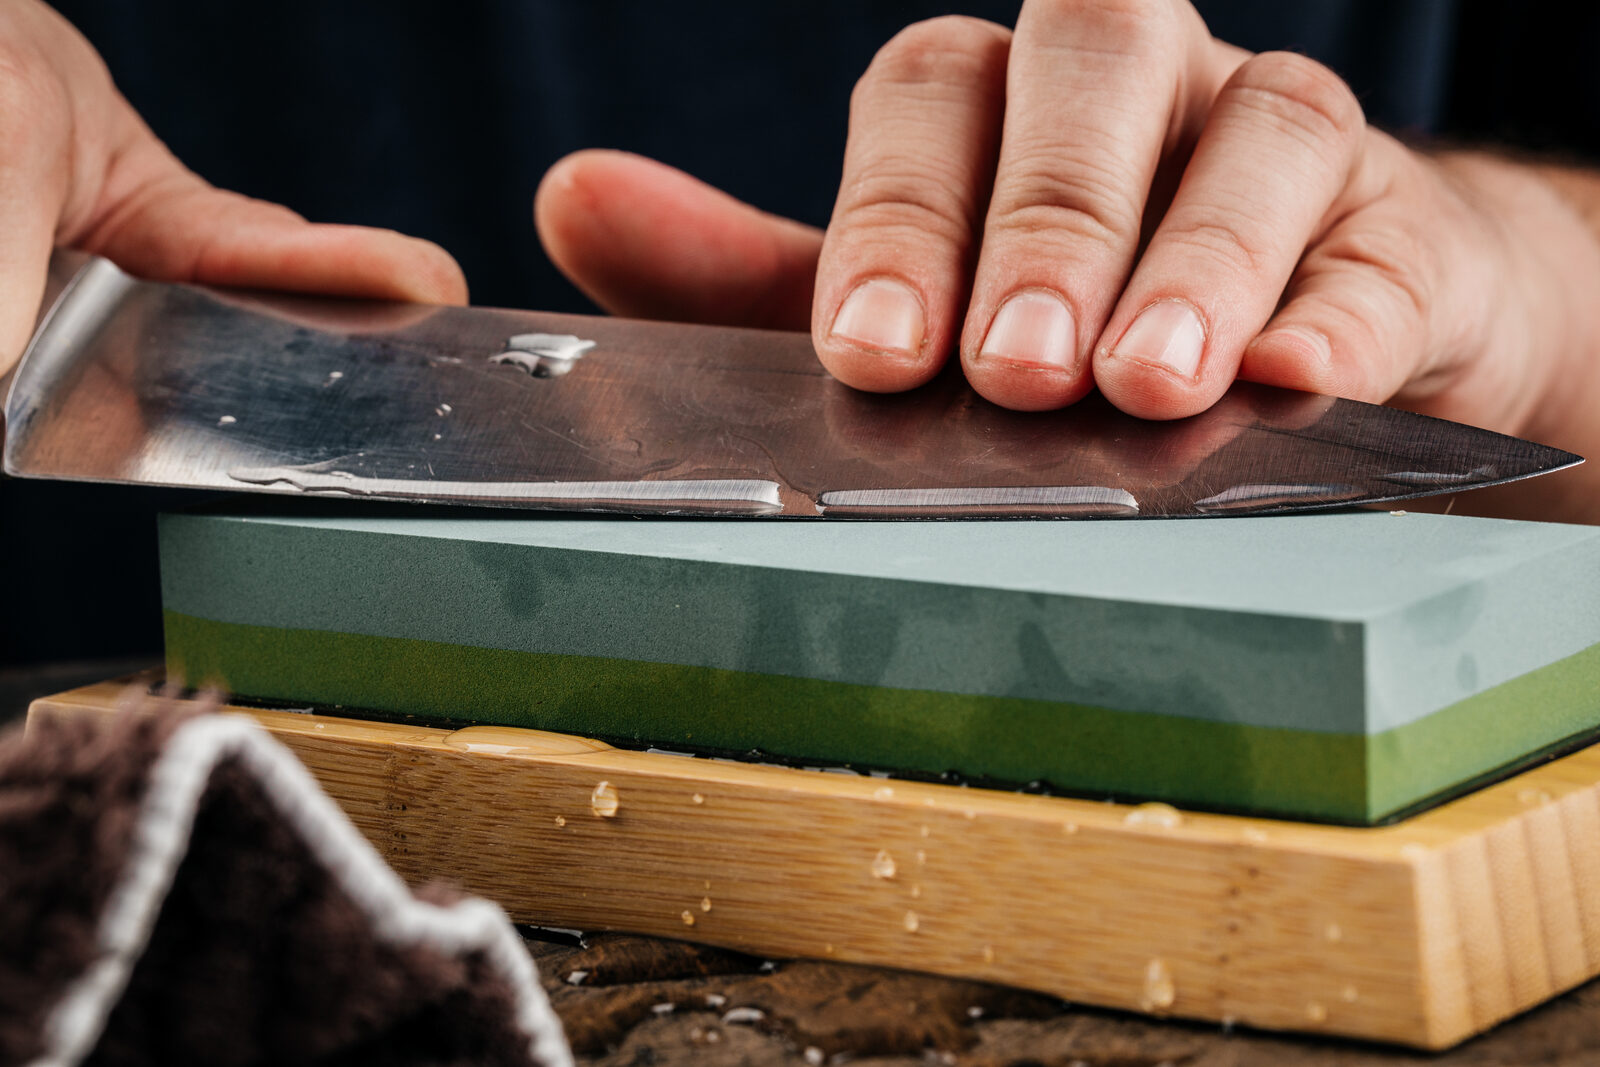
- Whetstone (bench stone) , the all-rounder for knives and tools. Oil stones and water stones both work; water stones cut fast and clean. A dual-grit stone (coarse one side, fine the other) covers most needs.
- Diamond plate , a steel plate coated in diamond grit: fast, flat, never dishes, and works on the hardest modern steels. A superb do-everything choice, and it doubles for flattening other stones.
- Strop , a strip of leather (often with polishing compound) that realigns and polishes an edge to shaving sharpness. The last step, and the easiest way to keep a good edge keen between sharpenings.
- File . A mill or bastard file is the right tool for axes and shovels: coarse, fast, and forgiving on thick, soft-edged tools.
- Ceramic/carbide pocket sharpeners & rods , small field tools; the pull-through carbide types are quick but aggressive, so use them sparingly on good knives and prefer a stone or rod when you can.
Sharpening a knife
The core skill, and the template for everything else. Work slowly and let the abrasive do it:
- Set the angle. Lay the blade on the stone at roughly 20° (for a Scandi grind, simply lay the existing flat bevel down and follow it, the grind sets the angle for you). Two stacked coins under the spine is a decent 15–20° guide.
- Grind one side to a burr. With light, even pressure, push the edge across the stone as if shaving a thin layer off it, tip to heel, keeping the angle constant. Work until you can feel a tiny burr along the whole far side.
- Do the other side, the same number of strokes, until the burr flips back.
- Refine and remove the burr. Move to the fine grit with lighter strokes, alternating sides, then strop on leather (or a belt) to polish the edge and wipe off the last of the burr.
- Test safely. A sharp edge catches on a thumbnail (drawn lightly across, not along), grabs paper, and shaves arm hair. A sharp edge that slides off your nail still needs work.
Rule of thumb
Sharpen before a tool feels dull, not after. A few honing strokes and a quick strop on a slightly-tired edge take a minute; rescuing a truly blunt or chipped edge means a long session on coarse grit. Little and often keeps everything shaving-keen with the least work.
Axes, shovels, and other edges
Thick, tough edges are sharpened with a file, not a fine stone, and to a steeper, more durable angle:
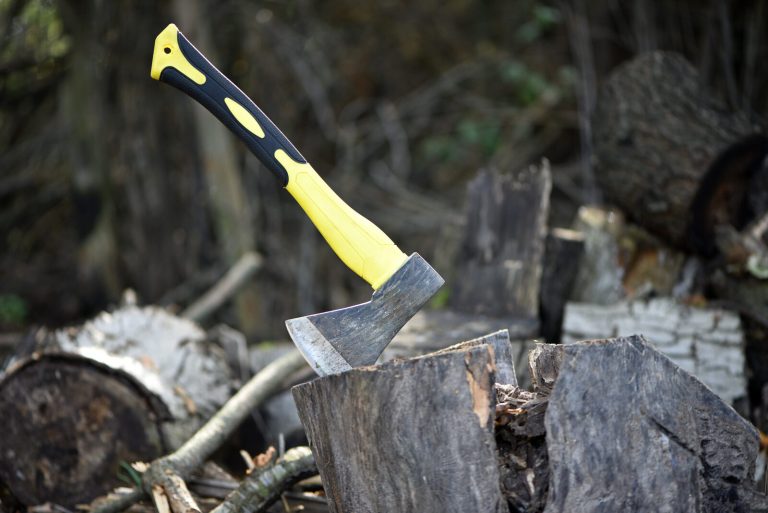
- Axes and hatchets. Clamp or brace the head, and push a mill file along the edge at the existing bevel (roughly 25–30°), working from the middle out to each corner, filing into the edge. Keep the original convex shape; do not thin it to a knife edge or it will chip on wood. Finish with a stone or puck to remove the burr, then oil the head.
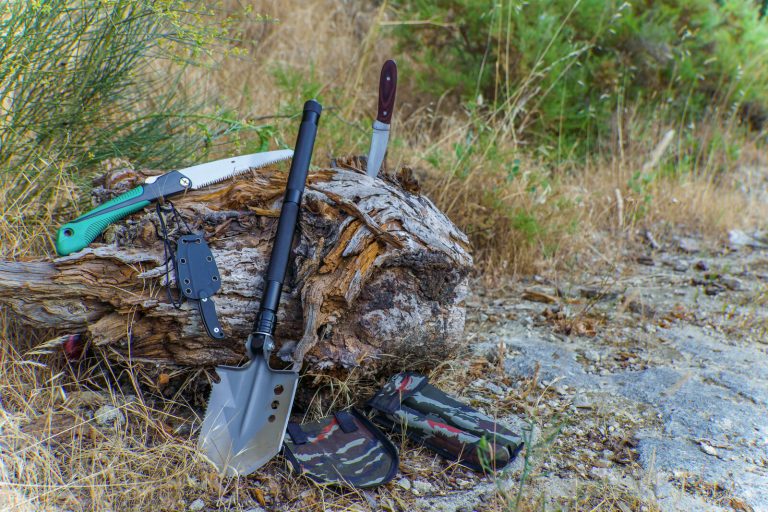
- Entrenching tools and shovels. A working edge on a digging tool makes it slice roots instead of bouncing. A few file strokes along the front lip at a shallow bevel is all it needs, sharp enough to cut, not so fine it rolls on soil and stones.
- Machetes and large choppers. A file or coarse stone along the edge, kept at a robust angle; polish only if you want it slicing rather than chopping.
Saws and multitools
Two common tools that follow different rules:
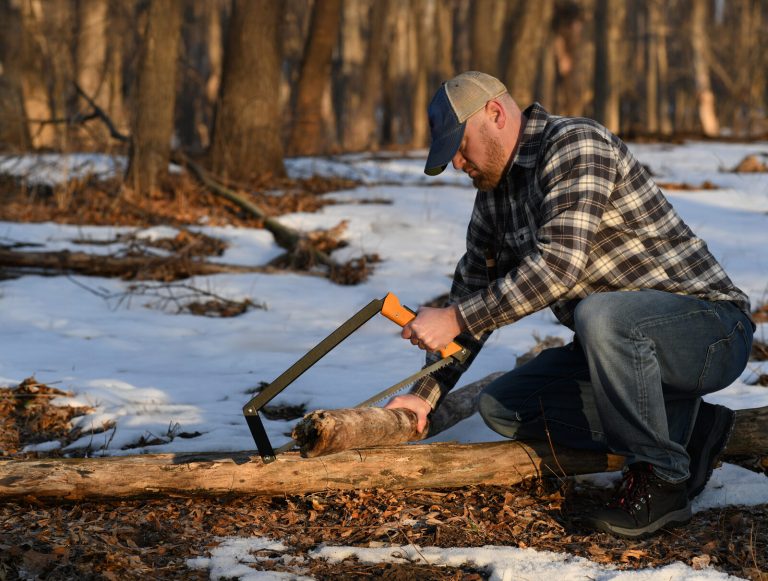
- Saws, usually replaced, not sharpened. Most modern camp-saw blades have hardpoint (induction-hardened) teeth that cannot be filed; when they finally dull, you swap in a fresh blade. Only traditional, non-hardpoint bow/bucksaw blades are worth filing and re-setting, and for most people a replacement blade is faster and cheaper than learning to set teeth. Carry a spare.
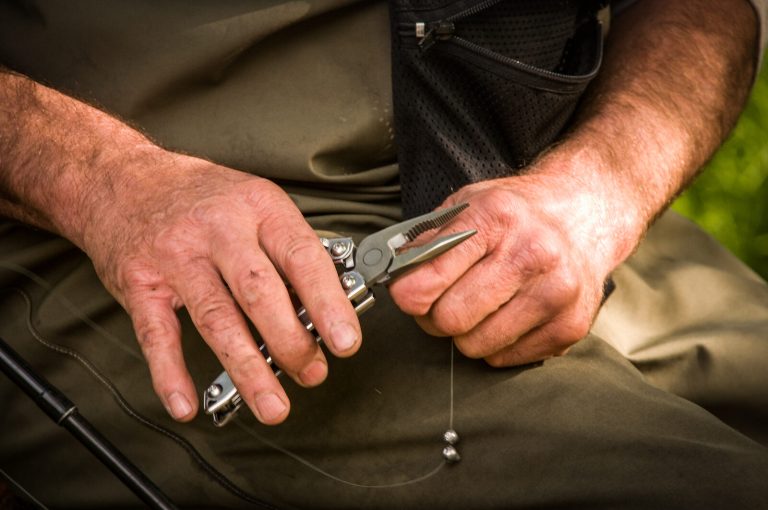
- Multitools & small blades. Sharpen the knife blade on a fine stone or rod just like any knife, working around the shorter blade in sections; the built-in file handles a burr or a rough spot. Trim and de-burr the scissors’ edge lightly if they get dull. Keep the pivots clean so the tools you are maintaining actually open. See our multitool guide.
Rust prevention and cleaning
Most tools die of rust and neglect long before they wear out, and prevention is almost effortless:
- Dry it, every time. This is the whole game for carbon steel. After use, wipe the blade or head clean and dry it completely before it goes away. Moisture, not use, is what corrodes steel.
- A light film of oil. Wipe carbon-steel blades, axe heads, and tool pivots with a thin film of oil (mineral/food-safe oil for anything that touches food) before storage. Stainless needs far less, but a wipe never hurts.
- Respect the patina. The stable grey patina that carbon steel develops is protective, not damage. Leave it. Address only active orange rust, with fine steel wool or a stone and a little oil.
- Never store in a damp sheath. Leather sheaths and cases hold moisture against steel; dry both the tool and its sheath, and store the tool outside a wet sheath.
Field touch-ups and a minimal kit
You do not carry a bench kit into the backcountry. You carry the minimum to keep an edge alive:
- A small dual-grit stone or a pocket diamond plate , enough to bring back a working edge on a knife or shovel.
- A strop , even a strip of leather, or the back of your belt, realigns an edge to keen in a few passes and is the highest-value/lowest-weight item.
- A small file . Only if you carry an axe or shovel that will need it.
- A rag and a tiny bottle of oil . The actual workhorses: dry and protect every steel tool at the end of the day.
A quick evening ritual, wipe every blade clean, a few strop strokes on the knife, a wipe of oil, tools folded dry, takes two minutes and keeps your whole kit ready. That habit, not any gadget, is what separates tools that last a lifetime from tools you replace.
Key takeaways
Sharp, clean tools are safer, easier, and cheaper over a lifetime than neglected ones, a dull edge slips, and rust kills more tools than wear ever will. Learn one skill, holding a consistent angle, and a single stone plus a strop will keep your knife shaving-keen; use a file for the thick edges of an axe or entrenching tool, replace hardpoint saw blades rather than fighting them, and keep your multitool pivots clean and oiled. Above all, dry every steel tool and give it a wipe of oil before it goes away. Sharpen before it dulls, protect it from moisture, and your tools will still be working long after everyone else has replaced theirs.
Drawn from established bushcraft, woodcraft, and blade-maintenance practice, alongside the tool-care guidance in the U.S. Army Survival Field Manual (FM 3-05.70 / FM 21-76).
Wilderness Experts is reader-supported. As an Amazon Associate we earn from qualifying purchases; when you buy through links on our site we may earn a commission at no extra cost to you. It never changes what we recommend.