
How to build a survival kit you will actually carry
The best survival kit is the one you have on you when things go wrong. A twisted ankle two hours from the trailhead, a wrong turn as the light fades, a storm that rolls in early. None of these are disasters if you are carrying a handful of the right items. This guide covers how to build a survival kit around what actually keeps people alive, sized so you carry it every time rather than leaving it in the car “just for big trips.”
A survival kit is not a bug-out bag or a bunker of gear. It is a small, deliberate set of tools that let you meet your core needs, warmth, water, first aid, signaling, and navigation, when your plan falls apart. Build it around needs, not gadgets: every item should answer the question “what will I actually have to do to get through an unplanned night out?” If an item does not earn its weight against a real scenario, leave it home. The goal is a kit light enough that it lives in your pack on a routine day hike, because that is the day you are most likely to need it.
Why the kit matters more than skill alone
Skills let you improvise, but even the most experienced person moves faster and stays safer with a few tools. A ferro rod makes fire in conditions where friction methods fail; a filter gives you water without a fire; a headlamp turns a benighted descent from an emergency into an inconvenience. The kit does not replace knowing what to do. It buys you time, warmth, and options while you do it. Pair it with a solid pre-trip safety plan and most backcountry problems stay small.
Build it around needs, in layers
Organize the kit by the needs it meets, not by the gear catalog. In a survival situation your priorities are, roughly in order: stop life-threatening injury, stay warm and dry, signal for help, get water, and find your way. Cover each of those with at least one item, and for the two that kill fastest, fire/warmth and injury, carry a backup. The old wilderness rule is “two is one, one is none”: anything critical enough to stake your life on gets a second, independent method stored separately.
Think in the Ten Essentials
The classic Ten Essentials, navigation, light, sun protection, first aid, a knife/repair kit, fire, shelter, extra food, extra water, and extra clothing, are a proven checklist for exactly this. A survival kit is the compact, always-with-you version of that list. See our guide to the Ten Essentials and hiking all day.
The core kit, need by need
Here is a kit that covers every core need and still fits in a pouch the size of a paperback.
First aid. The thing you are most likely to use. A compact, waterproof first-aid kit handles the sprains, cuts, blisters, and aches that end far more trips than dramatic emergencies. Carry one that is genuinely waterproof and light enough that you never leave it behind, our Adventure Medical Ultralight/Watertight kit review covers the balance we recommend. Learn the backcountry first-aid basics that go with it.
Fire and warmth. Carry two ways. A ferro rod throws sparks when wet and frozen and lasts thousands of strikes; back it with stormproof matches that burn in wind and rain, stored separately. Add a wet-weather tinder so you can actually get a flame. See how to start a fire in any conditions. An emergency mylar blanket or bivy rounds out warmth for almost no weight.
Water. A way to make it drinkable. You can last weeks without food but only days without water. A lightweight squeeze filter like the fast-flowing Platypus QuickDraw treats water as you drink with no wait, our Sawyer Squeeze review explains why it is our default, and a small pack of purification tablets is the featherweight backup for when a filter clogs or freezes. Two methods, because water is that important.
Light, hands-free and always on you. A headlamp is not optional; the moment a day hike runs long, it becomes safety gear. Carry one with fresh or rechargeable power and check it before you go. See our Black Diamond Spot 400 review.
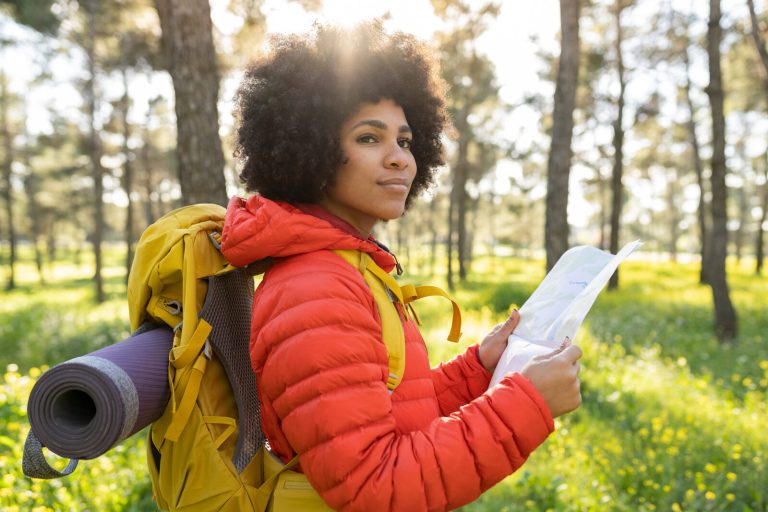
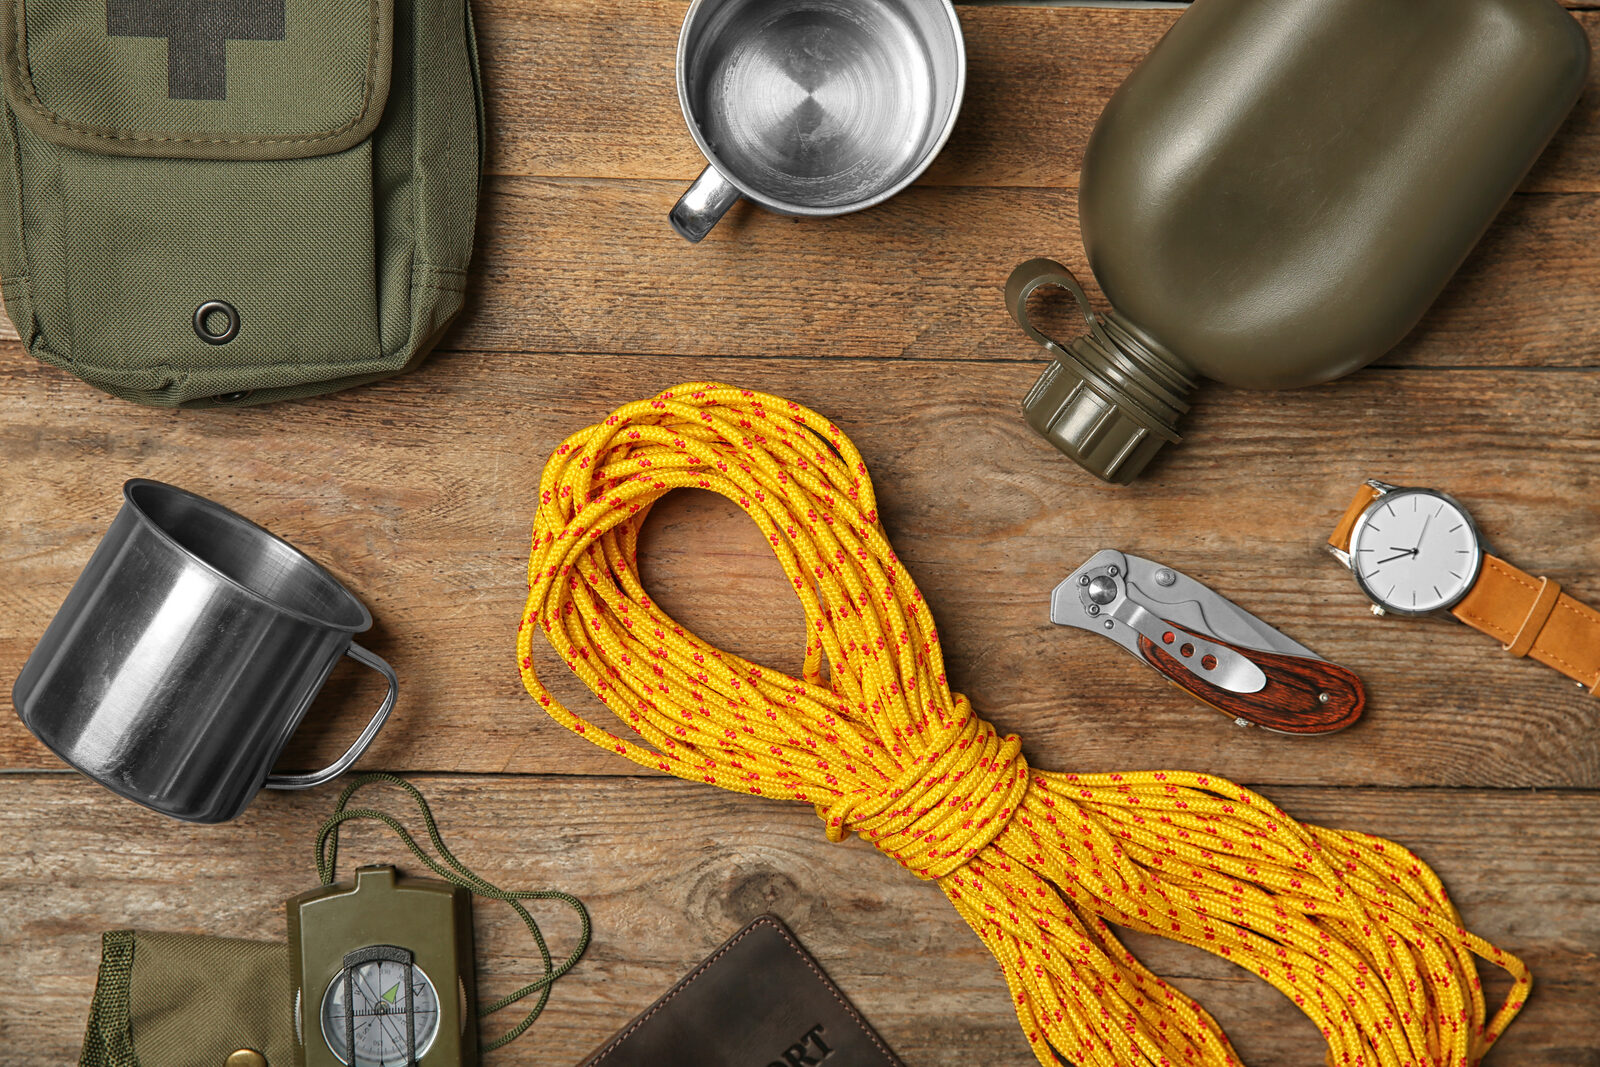
Navigation. That never needs batteries. A map of your area and a real baseplate compass, an accessible one like the Suunto M-3 . Will get you home when a phone dies or loses signal. Our Suunto MC-2 compass review covers the instrument we trust; the skill to use it is in our guide to map and compass navigation, with finding direction without a compass as the fallback.
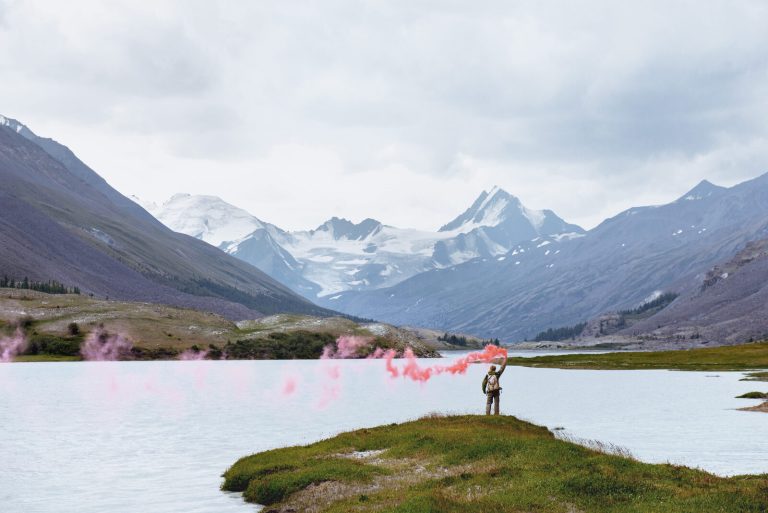
Signaling. To be found fast. A loud pea-less whistle carries far further than your voice and costs almost nothing in weight; a small signal mirror flashes for miles on a sunny day. Three of anything, three blasts, three flashes, is the recognized distress signal.
A knife and cordage, the everyday problem-solvers. A sturdy fixed or locking folding knife and a few meters of strong cord handle shelter-building, gear repair, first aid, and a hundred small tasks. For the repair-and-fix jobs especially, a multitool earns its place, pliers, drivers, and scissors alongside the blade; our pick is the Leatherman Wave+. Round it out with a little duct tape wound around a water bottle.
The container and how to carry it
Pack the small items in a single bright, waterproof pouch or a screw-top container so nothing is missing and nothing gets wet, and so you can grab the whole kit in one motion. A metal container earns its place because it doubles as a vessel to boil water in. Keep the kit’s redundant fire and water methods in separate pockets, not all in the one pouch, so a single dropped or soaked bag never takes out both of your backups.
On your body, not just in the pack
If you set your pack down to scout and can’t get back to it, a kit inside it is useless. Keep the true life-savers, a fire source, a whistle, a knife, and light, in a jacket or pants pocket so they stay on your body no matter what happens to the pack.
Scaling the kit to the trip
Match the kit to the outing so it is always proportionate, and always present.
- Every-day-carry (short day hikes): fire source, whistle, knife, headlamp, emergency blanket, a few bandages and blister supplies, water tablets. Fits in two jacket pockets.
- Day-pack kit (full-day and remote hikes): the full core kit above, first-aid kit, two fire methods plus tinder, filter and tablets, map and compass, signal mirror, cord, extra food and a warm layer.
- Overnight and beyond: the day-pack kit plus your shelter, sleeping, and cooking systems, a fuller repair kit, and, for remote or solo trips, a satellite messenger or personal locator beacon so you can call for help with no cell signal.
Season and terrain adjustments
Cold and snow: add insulation and a second warm layer, chemical hand warmers, and dark glasses against snow glare; keep batteries and butane warm against your body, as they fade in the cold. Heat and desert: weight shifts to water and sun protection, more capacity, electrolytes, a wide hat, and high-SPF sunscreen. Water and river country: waterproof everything and add a way to dry out; see crossing rivers safely. Wildlife country: add bear spray and odor-proof food storage where appropriate, our guide to wildlife encounters covers it.
Common mistakes, and how to fix them
- Too big to carry daily. A giant kit left in the trunk saves no one. Trim to a pouch you will actually bring on a two-hour hike.
- Gear you have never used. An unfamiliar filter or fire steel is not a tool, it is a puzzle. Practice with every item at home first.
- No redundancy on the critical needs. One lighter, one water source. If fire or water can kill you without it, carry two.
- Everything in one bag. Drop it or soak it and you lose the lot. Split the backups across pockets.
- Set and forgotten. Expired tablets, dead batteries, a used-up first-aid kit. A kit you never check is a kit you cannot trust.
Check it, use it, keep it current
Twice a year, empty the kit onto a table. Replace anything expired or used, swap batteries and test the headlamp, top up matches and tinder, and re-waterproof what needs it. Restock after every trip you dip into it. And practice. Light a fire with the ferro rod, run water through the filter, take a bearing with the compass, so that on the day it matters, every item is muscle memory rather than a first attempt.
A recommended starter kit
You do not need everything at once. Start here, keep it in one pouch plus a couple of pocket items, and carry it every time:
- Adventure Medical Ultralight/Watertight first-aid kit . Covers the injuries you are most likely to meet, in a genuinely waterproof case.
- Ferro rod + stormproof matches + fatwood tinder , two fire methods and a wet-weather tinder, stored apart.
- Sawyer Squeeze filter + purification tablets , your primary and backup water treatment.
- Black Diamond Spot 400 headlamp , hands-free light so a long day never becomes a night emergency.
- Suunto MC-2 compass and a paper map . Navigation that never runs out of battery.
- A whistle, a signal mirror, a knife, and a few meters of cord , the light, cheap items that punch far above their weight.
See the ferro rod we recommend
Key takeaways
Build your kit around the needs that keep you alive, injury, warmth, water, signaling, and navigation, carry two of anything critical, and keep the whole thing small enough that it rides in your pack on every trip, not just the ambitious ones. Store the real life-savers on your body, practice with each item until it is second nature, and check the kit twice a year. A survival kit you actually carry and actually know how to use is one of the best pieces of safety gear you own.
Adapted in part from the U.S. Army Survival Field Manual (FM 3-05.70 / FM 21-76), Chapter 2, “Survival Planning and Survival Kits,” and Appendix A, “Survival Kits,” with modern civilian day-hiking practice and the Ten Essentials framework.
Wilderness Experts is reader-supported. As an Amazon Associate we earn from qualifying purchases; when you buy through links on our site we may earn a commission at no extra cost to you. It never changes what we recommend.