
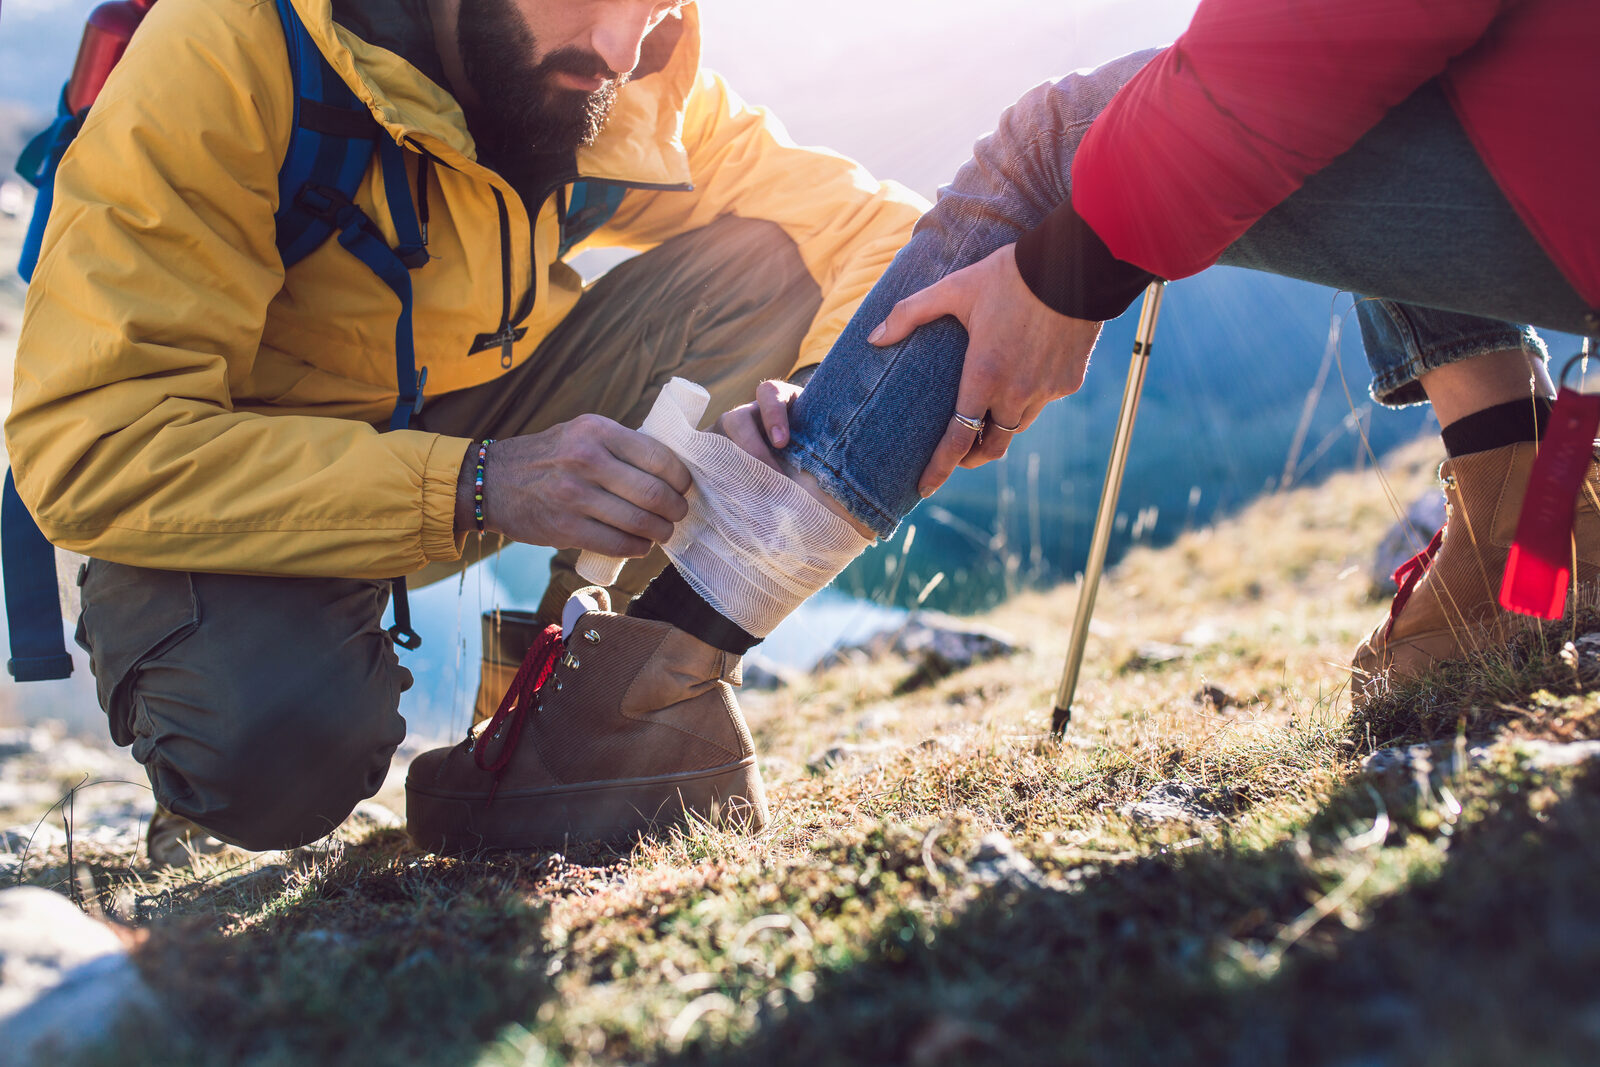
How to splint a sprain, fracture, or dislocation
A rolled ankle or a broken wrist rarely kills, but it can turn a good day into a genuine emergency, because in the backcountry, an injury that stops you from walking is an injury that strands you. Knowing how to stabilize a sprain, fracture, or dislocation with what is in your pack is the difference between a slow, controlled self-rescue and a long, dangerous wait. This guide covers assessing a limb injury, improvising a splint, and making the call on when to keep moving and when to send for help.
The goal of splinting is simple: stop the injured part from moving. Movement of a broken or dislocated limb drives the sharp ends of bone against nerves and blood vessels, worsens the damage, and causes severe pain that can push someone into shock. A splint holds everything still so you can move the person instead of the injury. You do not need to diagnose exactly what is broken. In the field you often cannot. You need to immobilize it in the position you found it, protect the blood flow beyond it, and get the person to help.
First, assess the whole person
A dramatic-looking limb draws the eye, but a broken bone is almost never the thing that kills. Before you focus on the injury, make sure there is nothing more urgent: check that the person is breathing, control any serious bleeding, and watch for the signs of shock. Our guide to backcountry first aid, bleeding, shock, and cold covers those life-threats, and they come first, every time. Only once the person is stable do you turn to the limb.
Bleeding and shock come first
A limb injury with heavy bleeding is a bleeding emergency first and a fracture second. Control the bleeding with direct pressure, treat for shock, and keep the person warm. Never place a splint or tie so tight that it acts as a tourniquet unless you are deliberately controlling life-threatening bleeding.
Sprain, fracture, or dislocation?
You are telling these apart to gauge severity, not to make a medical diagnosis, when in doubt, treat the worse possibility and splint.
- Sprain , an overstretched or torn ligament, usually from a twist. Pain, swelling, tenderness, and bruising, but the limb keeps its normal shape. Ankles and knees are the classic sites.
- Fracture , a broken bone. Look for pain and tenderness right over the bone, swelling, deformity, loss of use, and sometimes a grating feeling as the ends move. A closed fracture has intact skin; an open (compound) fracture has bone through the skin or a wound over the break. That is also a serious bleeding and infection risk.
- Dislocation , a joint forced out of alignment (shoulder, finger, kneecap, elbow). Obvious deformity at the joint, intense pain, swelling, and a joint that will not move through its normal range.
If you cannot tell a bad sprain from a fracture, and often you cannot without an X-ray. Treat it as a fracture and splint it. There is little harm in immobilizing a sprain, and real harm in walking on a break.
Check circulation before and after, every time
This is the step that protects the limb, and the one people forget. Before you splint and again after every adjustment, check what medics call CSM below the injury, circulation, sensation, and movement:
- Circulation . Is the skin beyond the injury warm and its normal color? Press a nail bed or the skin; the color should return in about two seconds. Cold, pale, or bluish skin means blood flow is compromised.
- Sensation . Can the person feel you touch their fingers or toes?
- Movement . Can they gently wiggle the digits beyond the injury?
If circulation is clearly cut off below a fracture. The limb is white, cold, and numb. That is a true emergency, because tissue starved of blood dies. This is the one situation where applying gentle in-line traction to straighten a grossly angled limb enough to restore blood flow may be warranted. Otherwise, splint as you found it.
Recheck after every tie
Swelling grows over the minutes and hours after an injury, and a splint that fit at first can become a tourniquet as the limb swells. Loosen the ties if the skin beyond the splint turns cold, pale, numb, or blue, and keep checking.
The rules of a good splint
Whatever you build the splint from, these principles make it work and keep it safe:
- Immobilize the joints above and below the break. For a forearm fracture, that means the wrist and the elbow; for a lower leg, the knee and the ankle. Splinting only the break lets it move.
- Splint it in the position found, or in the natural “position of function” (a slightly curled, relaxed hand; a slightly bent knee). Do not force a limb straight.
- Pad everything. Line the rigid support with clothing, moss, or a sleeping pad so there are no pressure points, especially over bony areas.
- Make it rigid and long enough to span both joints, and secure it firmly but not tightly with ties spaced along its length. Snug enough to prevent movement, loose enough to keep blood flowing.
- Leave fingers and toes exposed so you can keep checking circulation, sensation, and movement.
- Elevate the injured limb where you can, and apply cold to reduce swelling.
Improvising a splint and sling
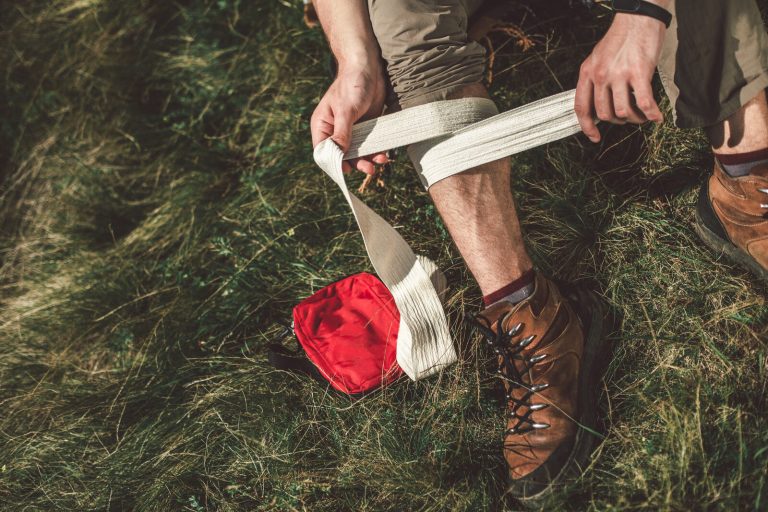
You rarely carry a purpose-made splint, so look around and in your pack. Rigid supports can come from trekking poles, tent poles, a sleeping pad rolled around the limb, a thick stick, or a folded foam pad. Padding comes from spare clothing, a hat, or dry moss. Ties come from cord, torn cloth, triangular bandages, a belt, or strips cut from a shirt, space several along the splint and knot them over the padding, not over the break itself.
A rolled closed-cell foam pad makes one of the best field splints for a lower leg or ankle: wrap it around the limb like a gutter and lash it, our Therm-a-Rest Z Lite Sol review covers the pad we recommend, which doubles for exactly this. For an arm, you can also splint the limb to the body: bind a hurt arm gently against the chest, or tie an injured leg to the good leg with padding between them, and let the trunk act as the rigid support.
An arm or shoulder injury usually wants a sling to take the weight, plus a wrap (a “swathe”) around the body to stop the arm swinging. Make a sling from a triangular bandage, a spare shirt, or the tail of a jacket, supporting the forearm with the hand slightly above the elbow, then bind the whole arm to the torso.
Treating a sprain: RICE
For a sprain, or any injury you have splinted and are resting. Remember RICE:
- Rest the injured area; stop using it.
- Ice for the first 24 to 48 hours to control swelling. Snow, a cold pack, or cloth soaked in cold stream water all work. Wrap it so it is not directly on skin.
- Compress with an elastic wrap or a splint to stabilize. For a sprained ankle, it is often best to leave the boot on . It acts as a splint, unless circulation is compromised, because once you take it off, swelling may keep you from getting it back on.
- Elevate the limb above heart level when you can to drain swelling.
Should you ever straighten or reset a limb?
Be conservative. As a general rule, do not try to reset a fracture or pop a dislocation back in . You risk turning a clean break into a worse injury or trapping a nerve. Splint it as it lies and get help. There are two narrow exceptions where careful, gentle in-line traction to realign may be justified when definitive care is hours or days away: when a limb below a fracture has no blood flow (white, cold, pulseless) and straightening might restore it, and when a limb is so badly angled you cannot splint or move the person at all. Move slowly, stop if it meets hard resistance or the pain spikes sharply, and splint the moment you have improvement. An open fracture with bone exposed should be covered with a clean, moist dressing and kept from drying out. Do not push the bone back in.
Training pays off here
Field management of fractures and dislocations is a hands-on skill. A one- or two-day Wilderness First Aid course will teach you to assess CSM, splint, and make evacuation calls with confidence. The best preparation you can carry into the backcountry.
Walk out or call for help?
Once the injury is stable, decide how the person gets to definitive care. Some injuries, a mild sprain, a splinted finger, let someone self-evacuate slowly. Others do not. Call or signal for outside help when you see any of these: an open fracture; a broken leg, hip, or pelvis the person cannot walk on; a dislocation you cannot manage; loss of circulation or sensation below the injury; or any injury combined with shock, cold, or a person who cannot travel under their own power. On remote or solo trips, a satellite messenger or personal locator beacon lets you summon help with no cell signal, the single most valuable tool for a serious injury far from the road. Keep the person warm, hydrated, and reassured while you wait; a splinted, sheltered patient is a stable one.
Common mistakes, and how to fix them
- Fixating on the limb. Bleeding, breathing, and shock come first. Stabilize the person, then the fracture.
- Splinting only the break. Immobilize the joint above and below, or the injury still moves.
- Tying too tight. A splint is not a tourniquet. Recheck circulation after every tie and as swelling grows.
- No padding. A bare stick against skin creates pressure sores on a long evacuation. Pad generously.
- Forcing a straighten or reset. Leave it as found unless blood flow is gone. When in doubt, splint and evacuate.
- Removing the boot from a sprained ankle. Often you cannot get it back on. Leave it as compression unless circulation is threatened.
What to carry
Most splint material you already have, poles, a pad, clothing. A few purpose-made items make the job faster and cleaner:
- A compact first-aid kit , triangular bandages, an elastic wrap, tape, and dressings are the backbone of splinting and slinging; a fuller kit like the Surviveware Comprehensive or My Medic MYFAK Large suits remote trips.
- A moldable foam splint (SAM-style) . A few ounces, rolls flat, and forms a rigid support for almost any limb. The one deliberate splinting item worth adding.
- A closed-cell foam pad , insulation, a seat, and an excellent gutter splint for a leg or ankle.
- An elastic compression wrap and strong cord or webbing , for compression and for lashing a splint firmly.
- A satellite messenger or PLB , for calling help when an injury means someone cannot walk out.
Key takeaways
Handle the life-threats first, then check circulation, sensation, and movement below the injury before you touch it. Splint in the position you found it, immobilizing the joints above and below, padded and snug but never tight, with fingers and toes left out so you can keep checking blood flow. Treat sprains with RICE, resist the urge to reset unless circulation is gone, and get anyone who cannot walk to help. A limb injury handled calmly and correctly is a bad day. Handled badly, it is an emergency. Take a Wilderness First Aid course and this becomes a skill you own.
Adapted in part from the U.S. Army Survival Field Manual (FM 3-05.70 / FM 21-76), Chapter 4, “Basic Survival Medicine,” with modern civilian Wilderness First Aid practice. Field reduction of fractures and dislocations carries real risk and is presented conservatively; hands-on training is strongly recommended. This article is general information, not a substitute for medical care or professional training.
Wilderness Experts is reader-supported. As an Amazon Associate we earn from qualifying purchases; when you buy through links on our site we may earn a commission at no extra cost to you. It never changes what we recommend.